
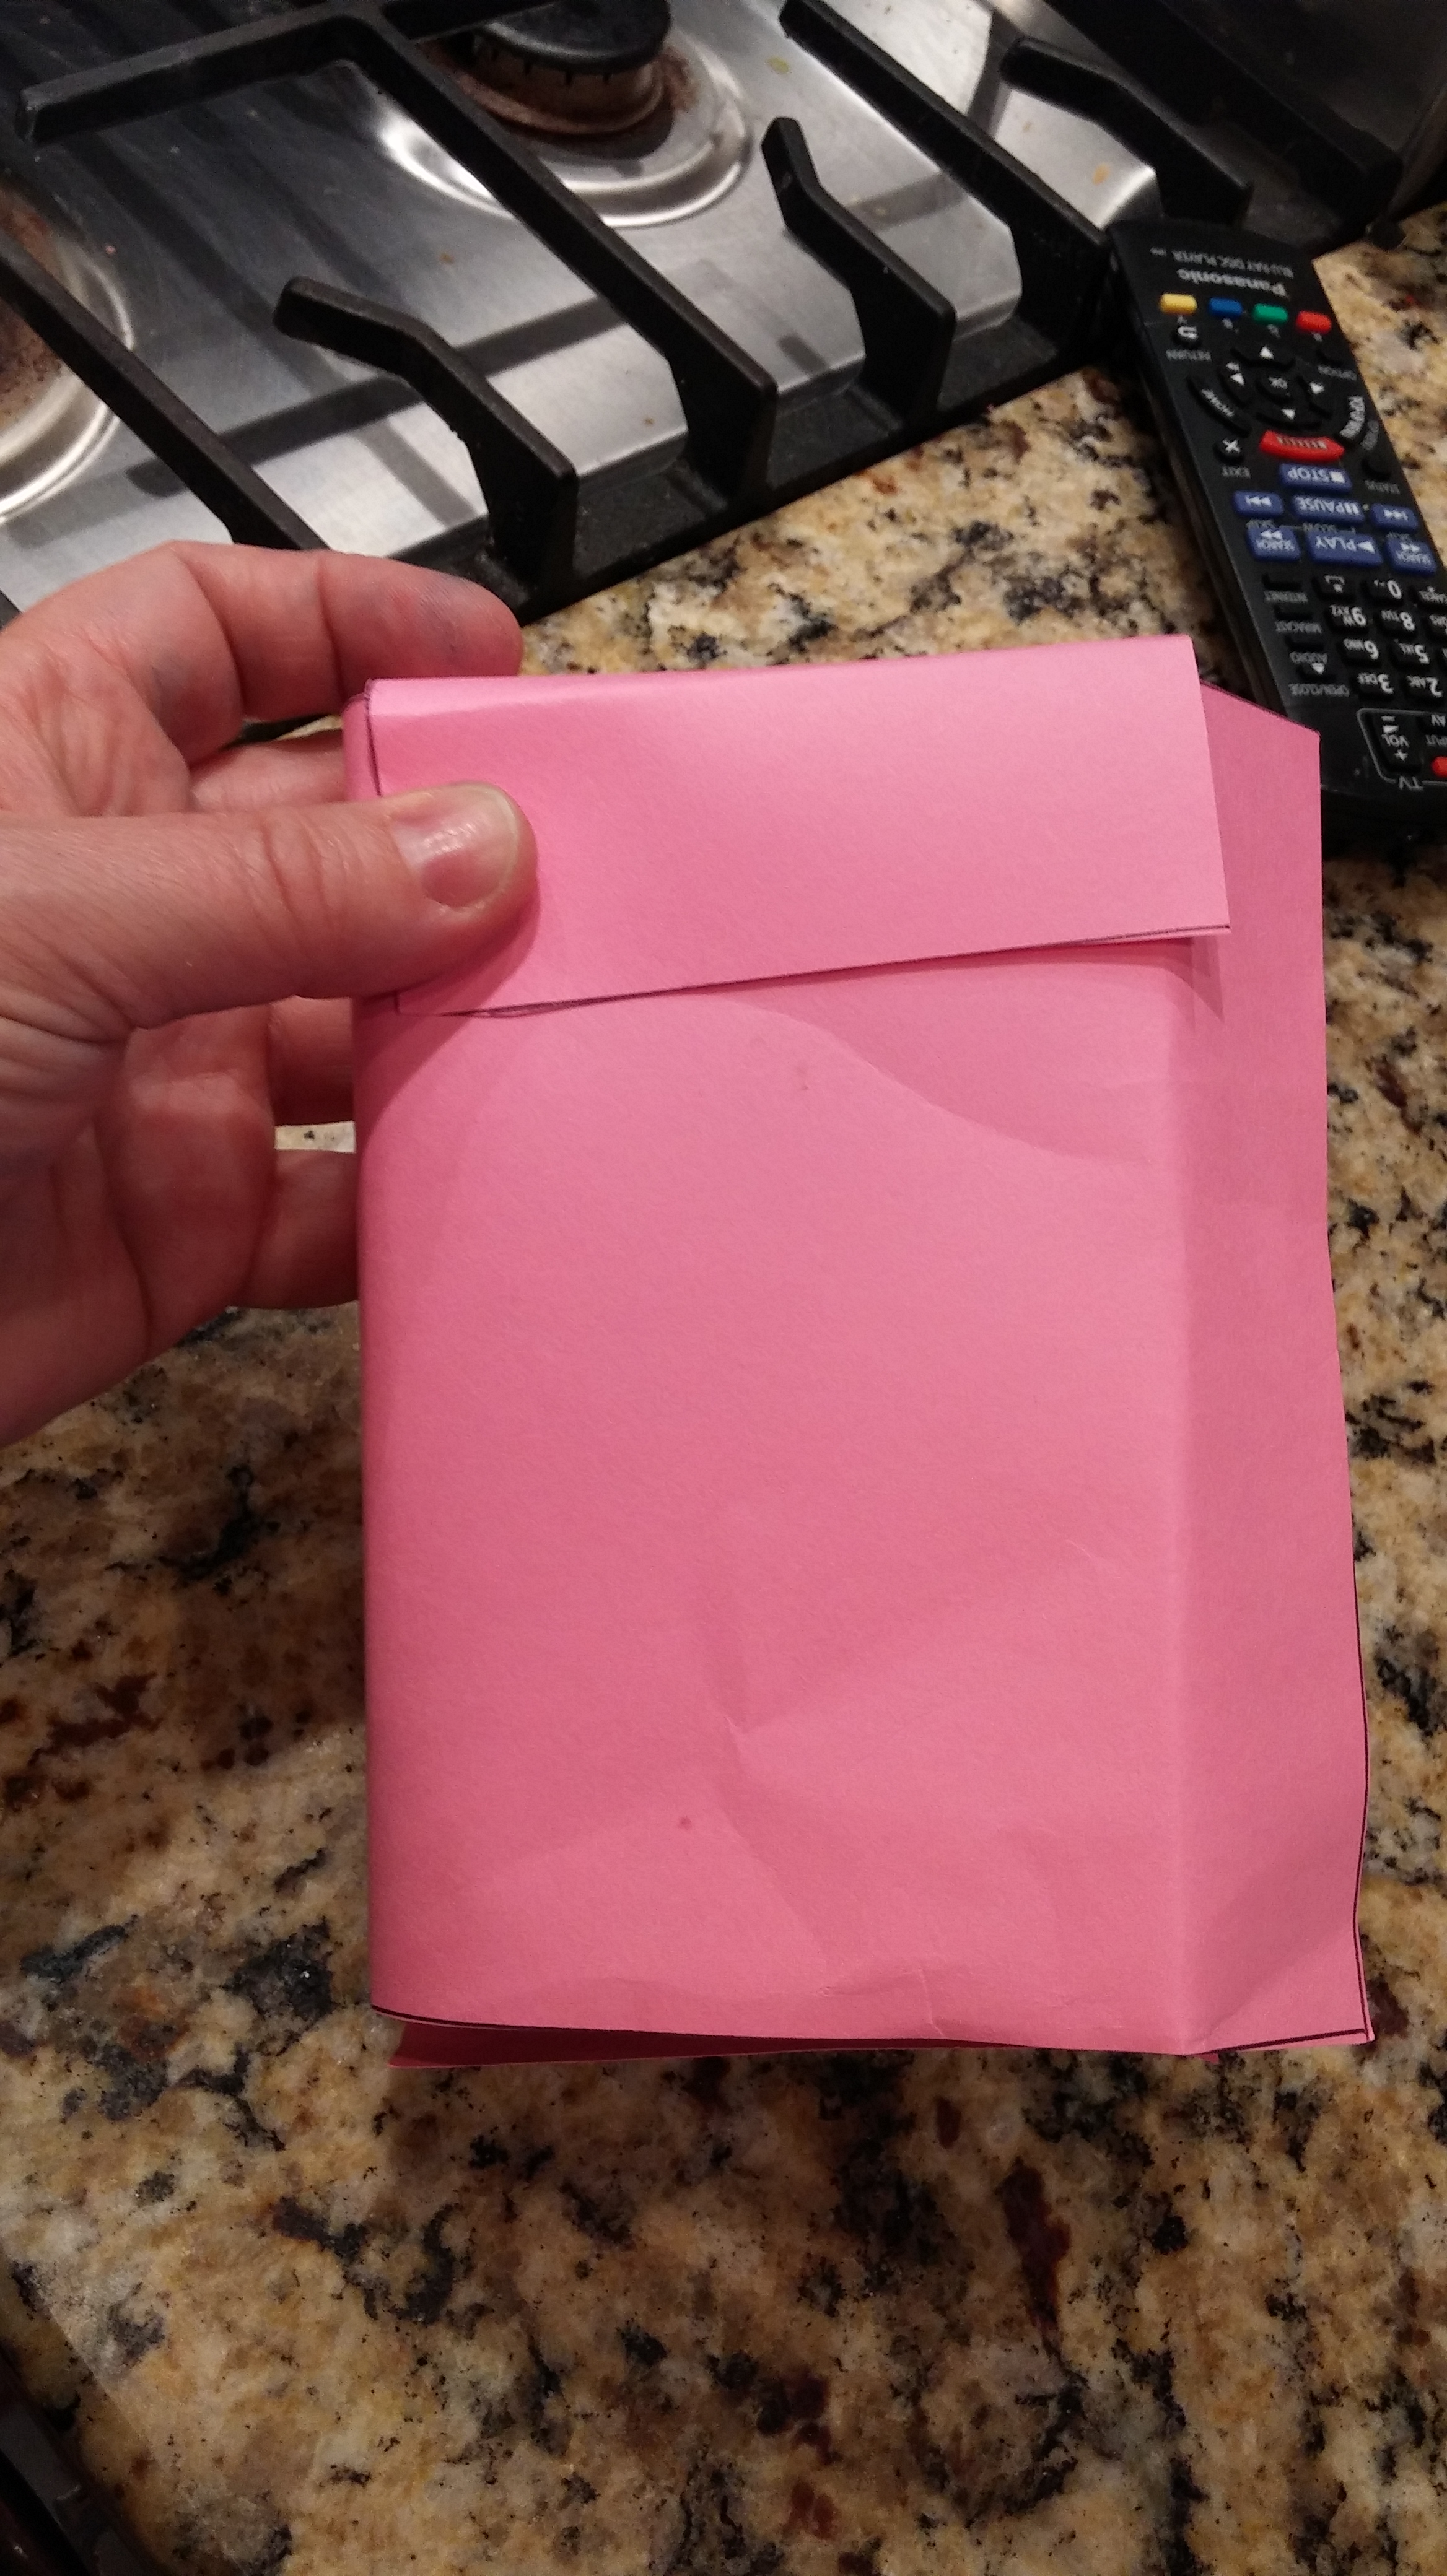
I was pretty excited when my niece told me she wanted to go to Momocon as Kiki from Kiki’s Delivery Service! I was most intrigued by the radio. We included a velcro flap to add her iPod into so it would really play music too! It ended up being very cheap & easy to make!
Materials:
Cardboard (we used an old box)
Red vinyl fabric
Printer
Glue gun
Glue stick
Rotary cutter
Box cutter
Strap (we used one from an old phone case)
Sticky back Velcro
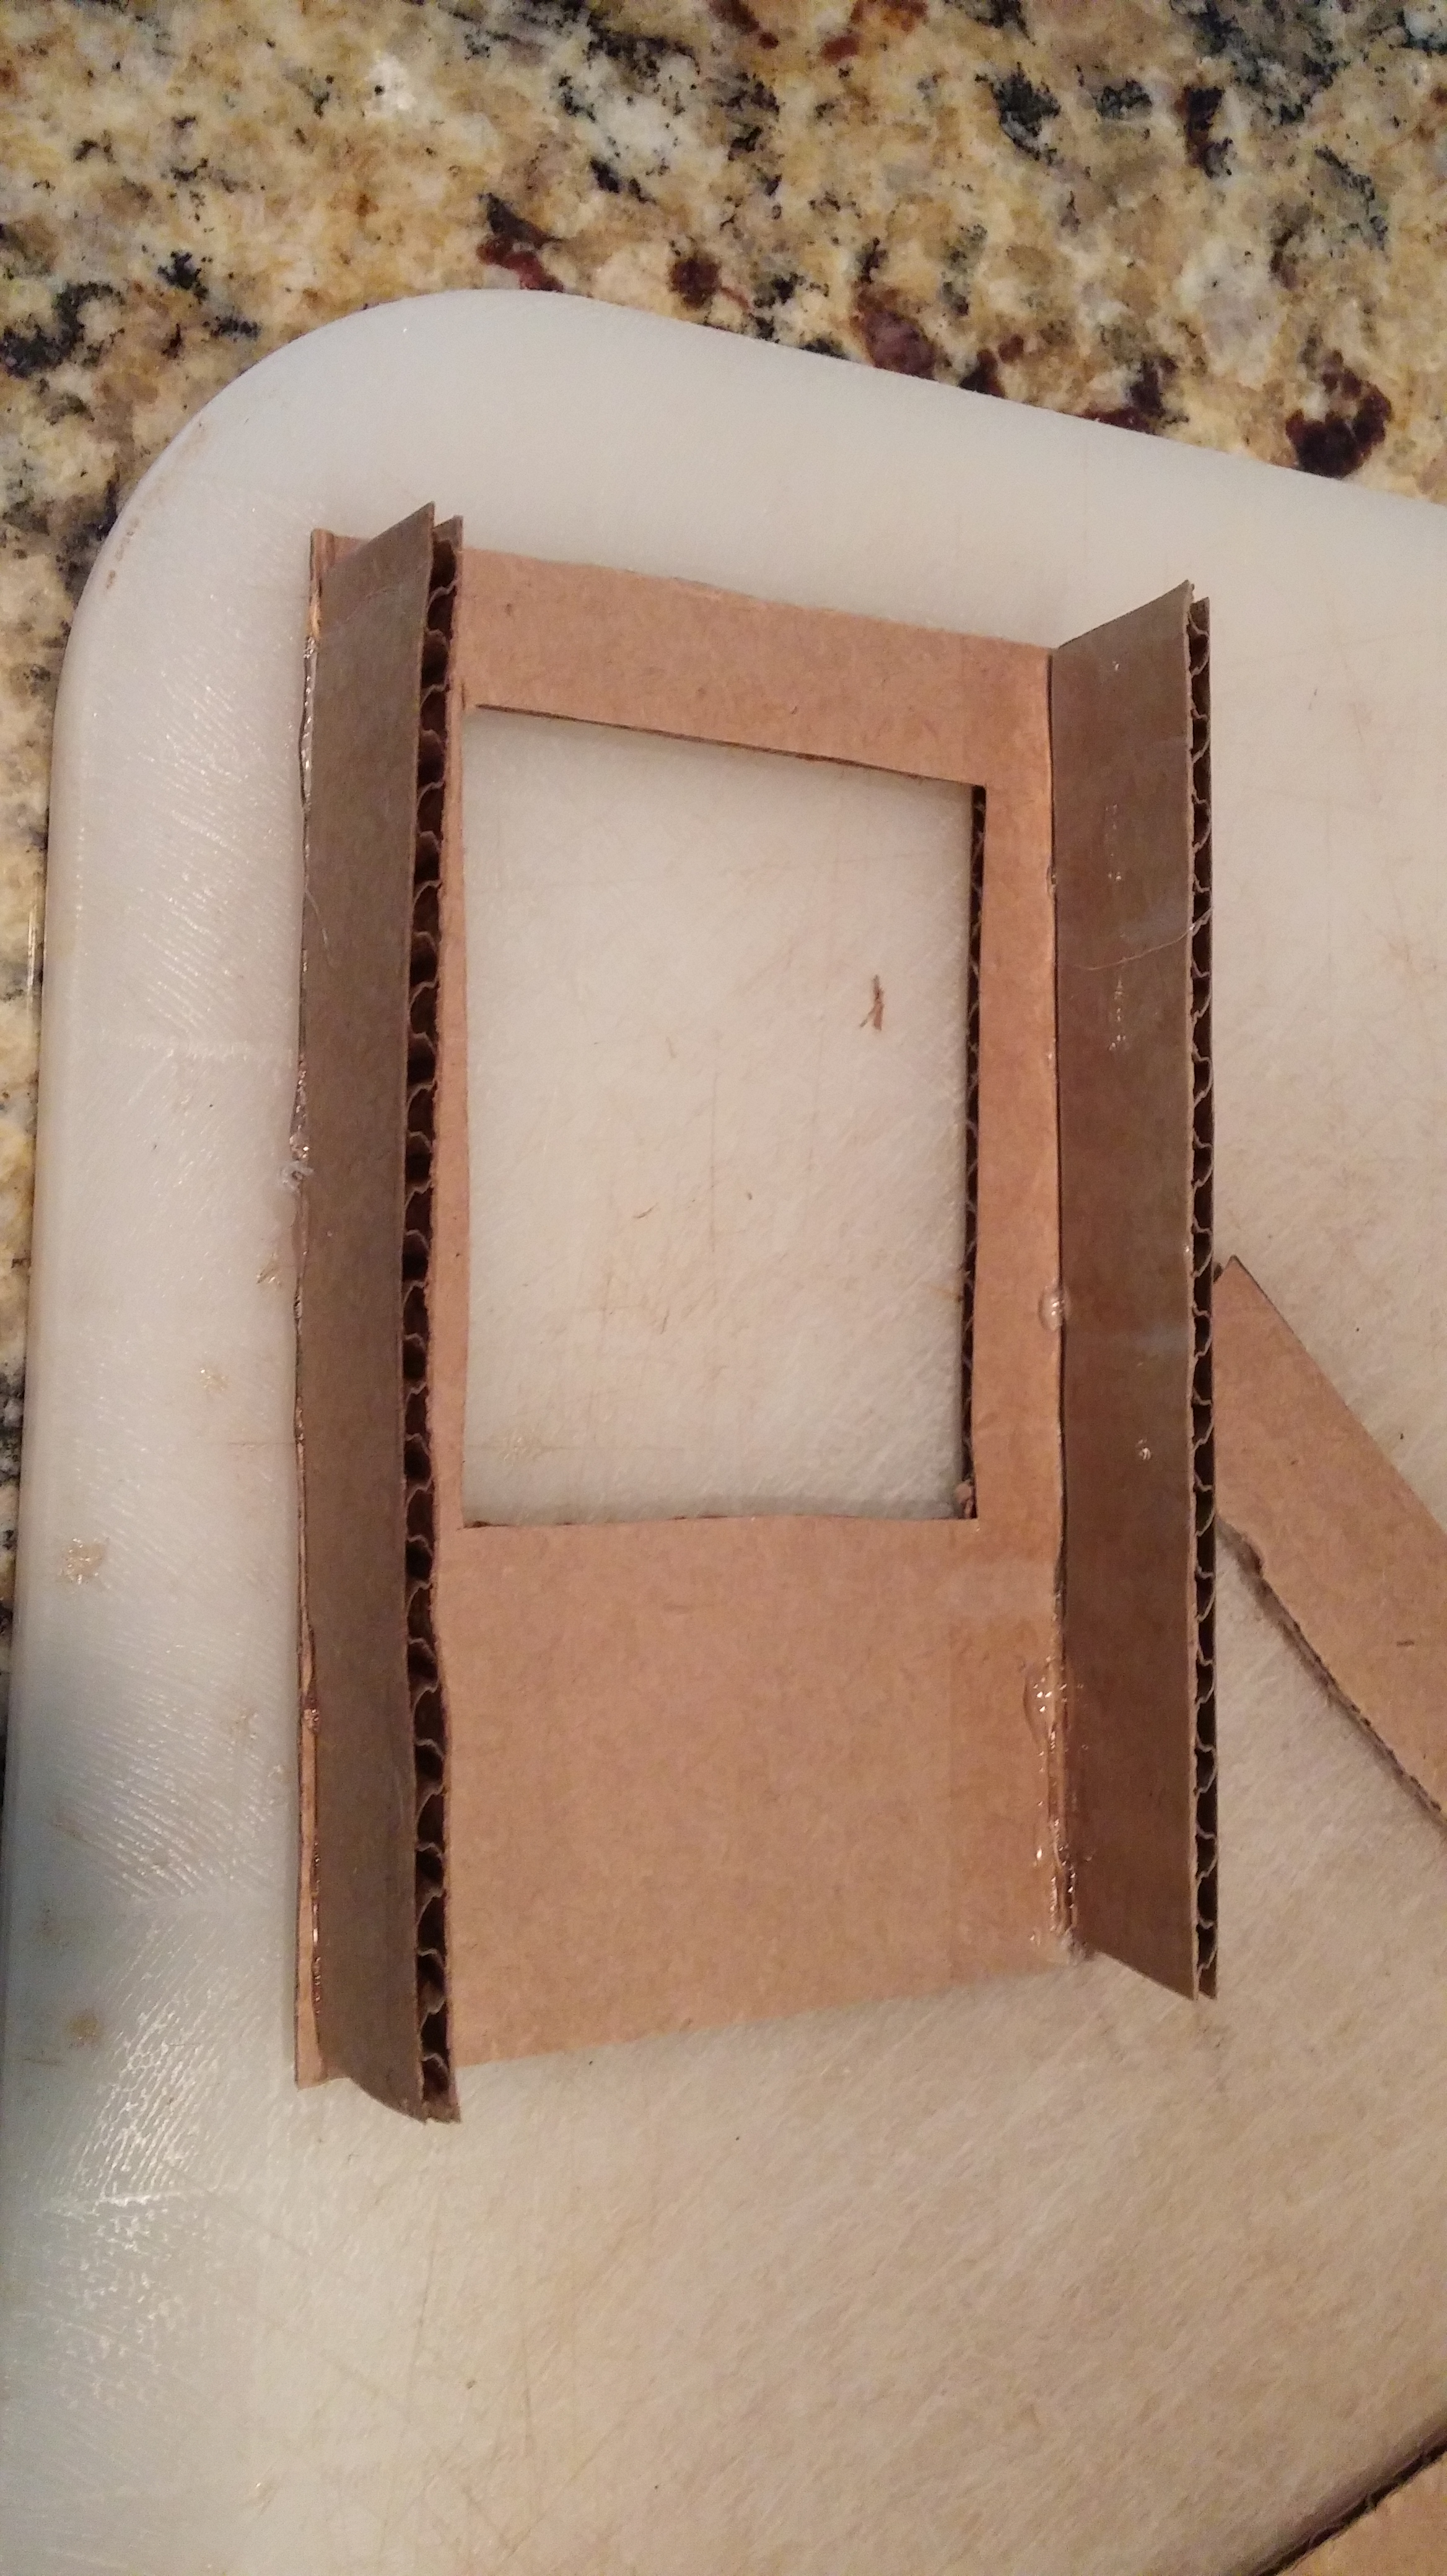
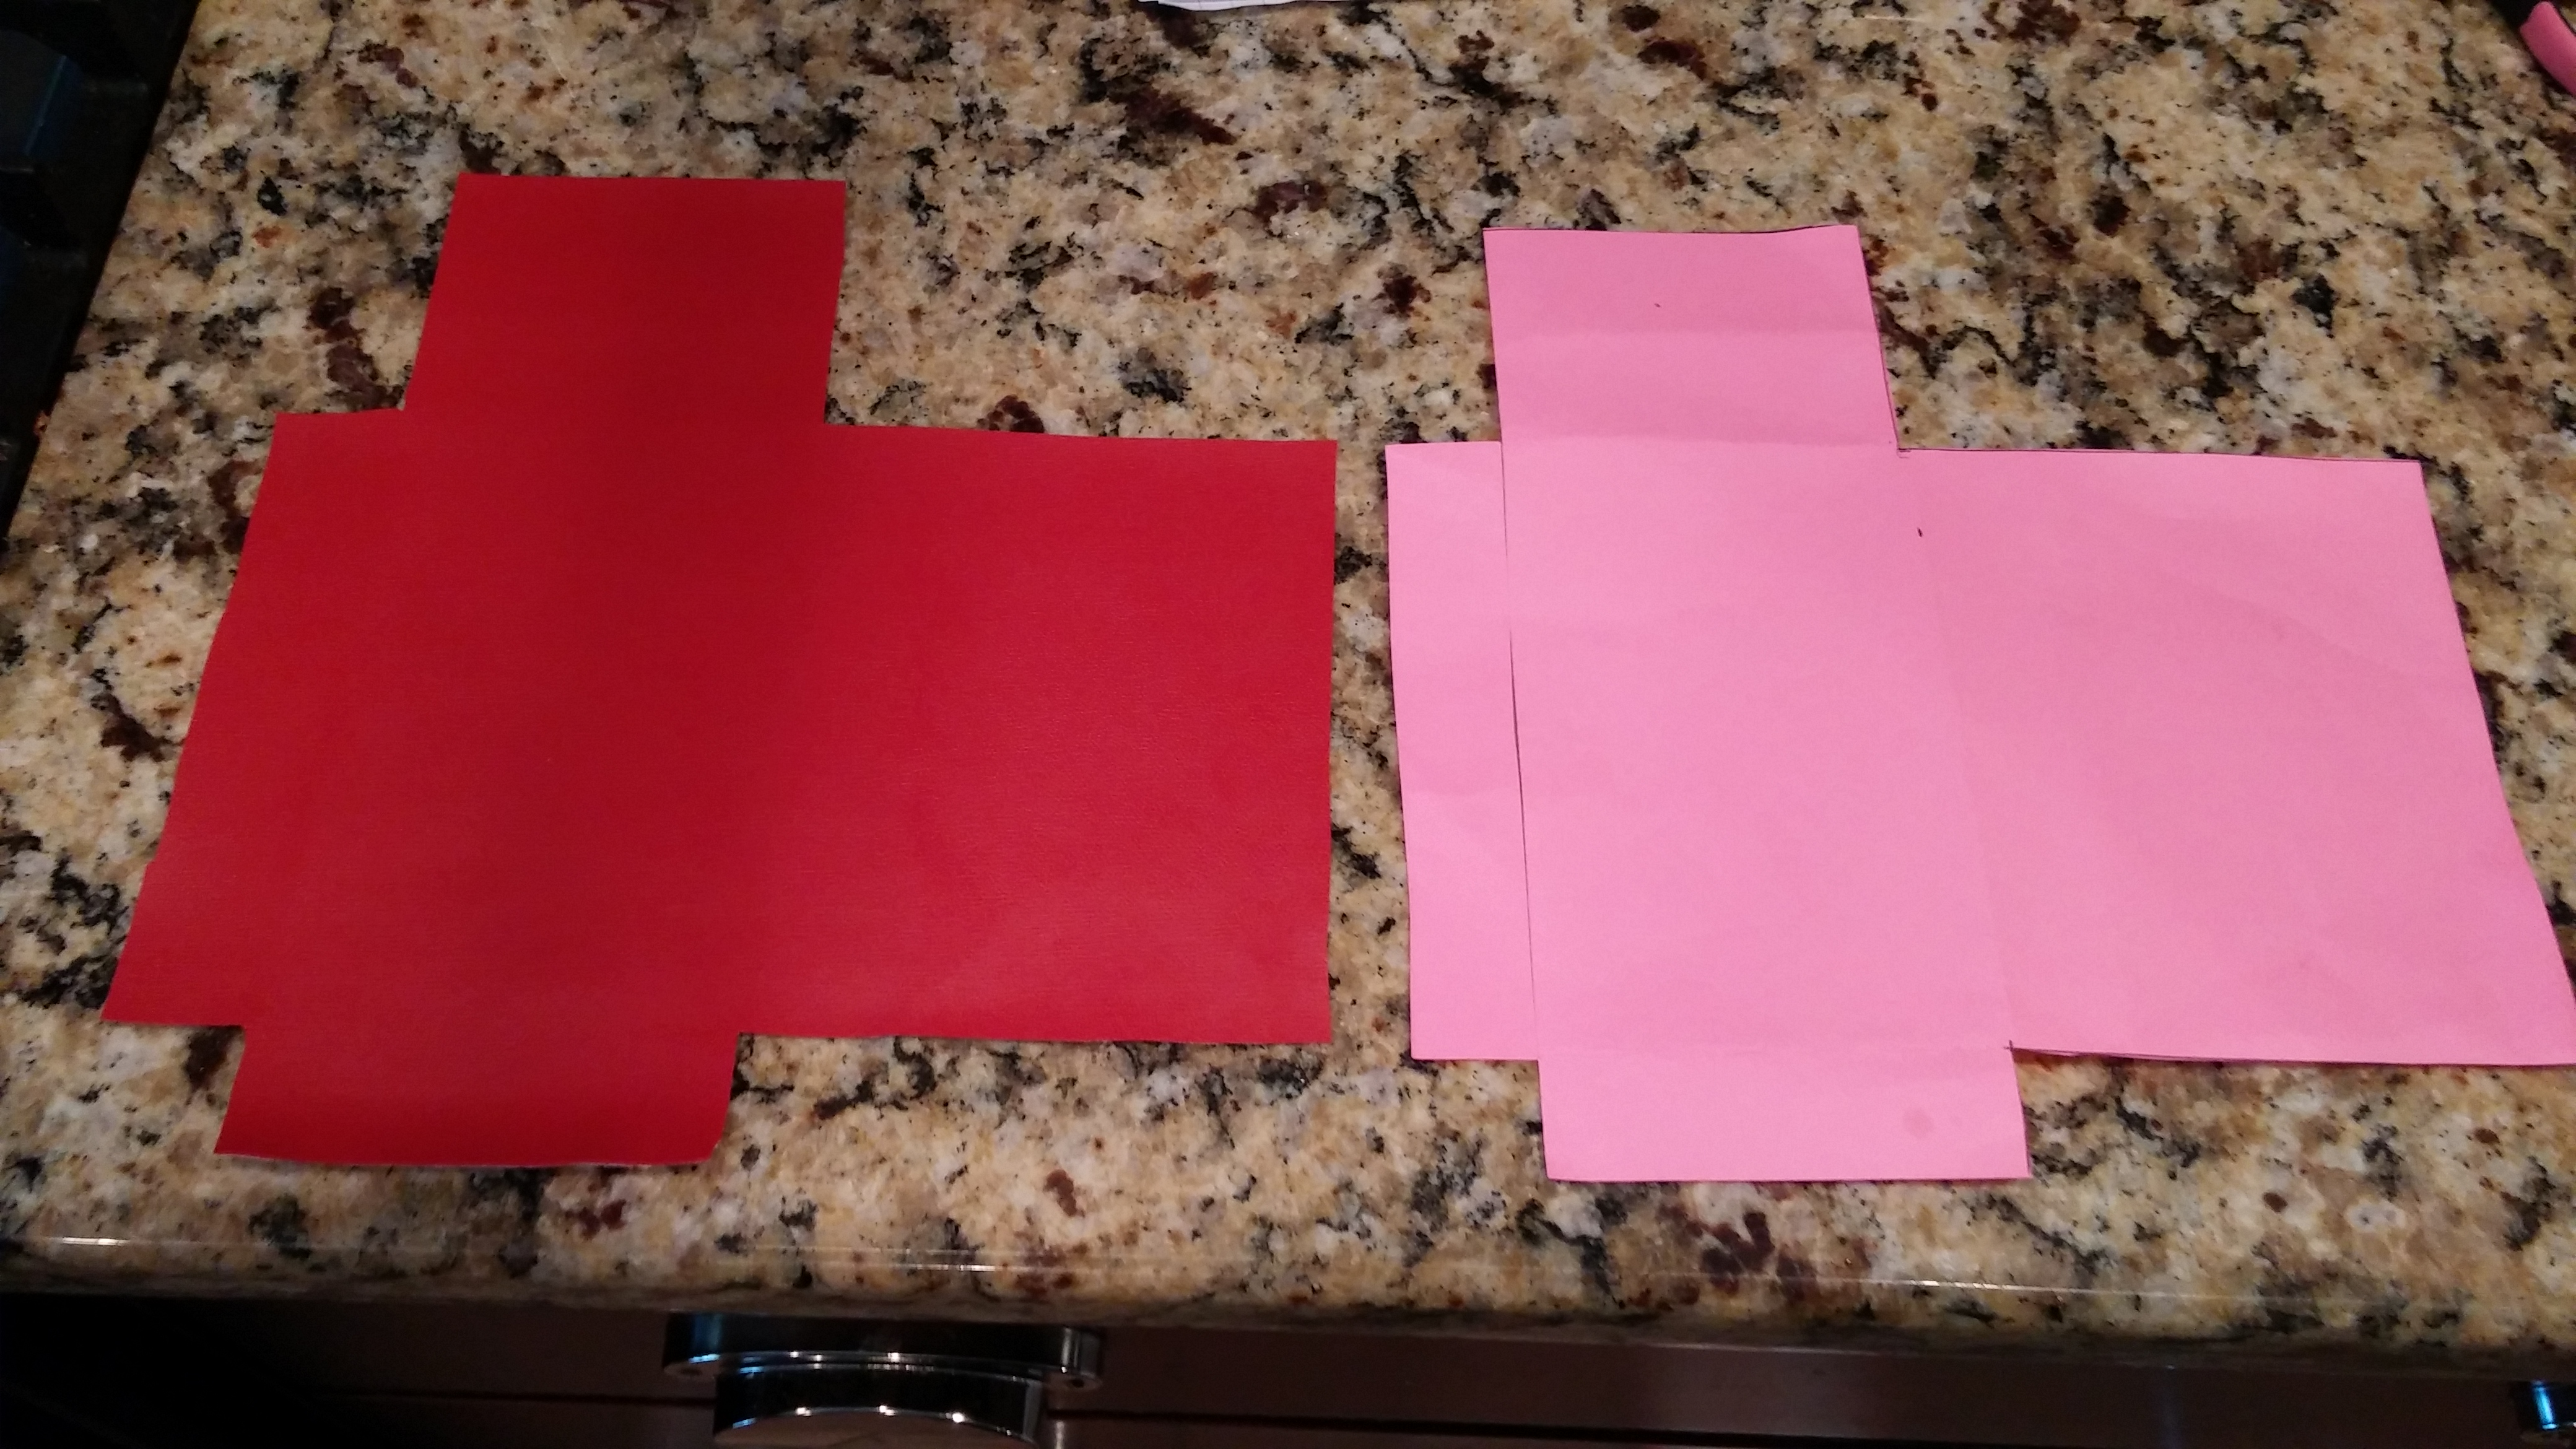
Step One: Cut the cardboard

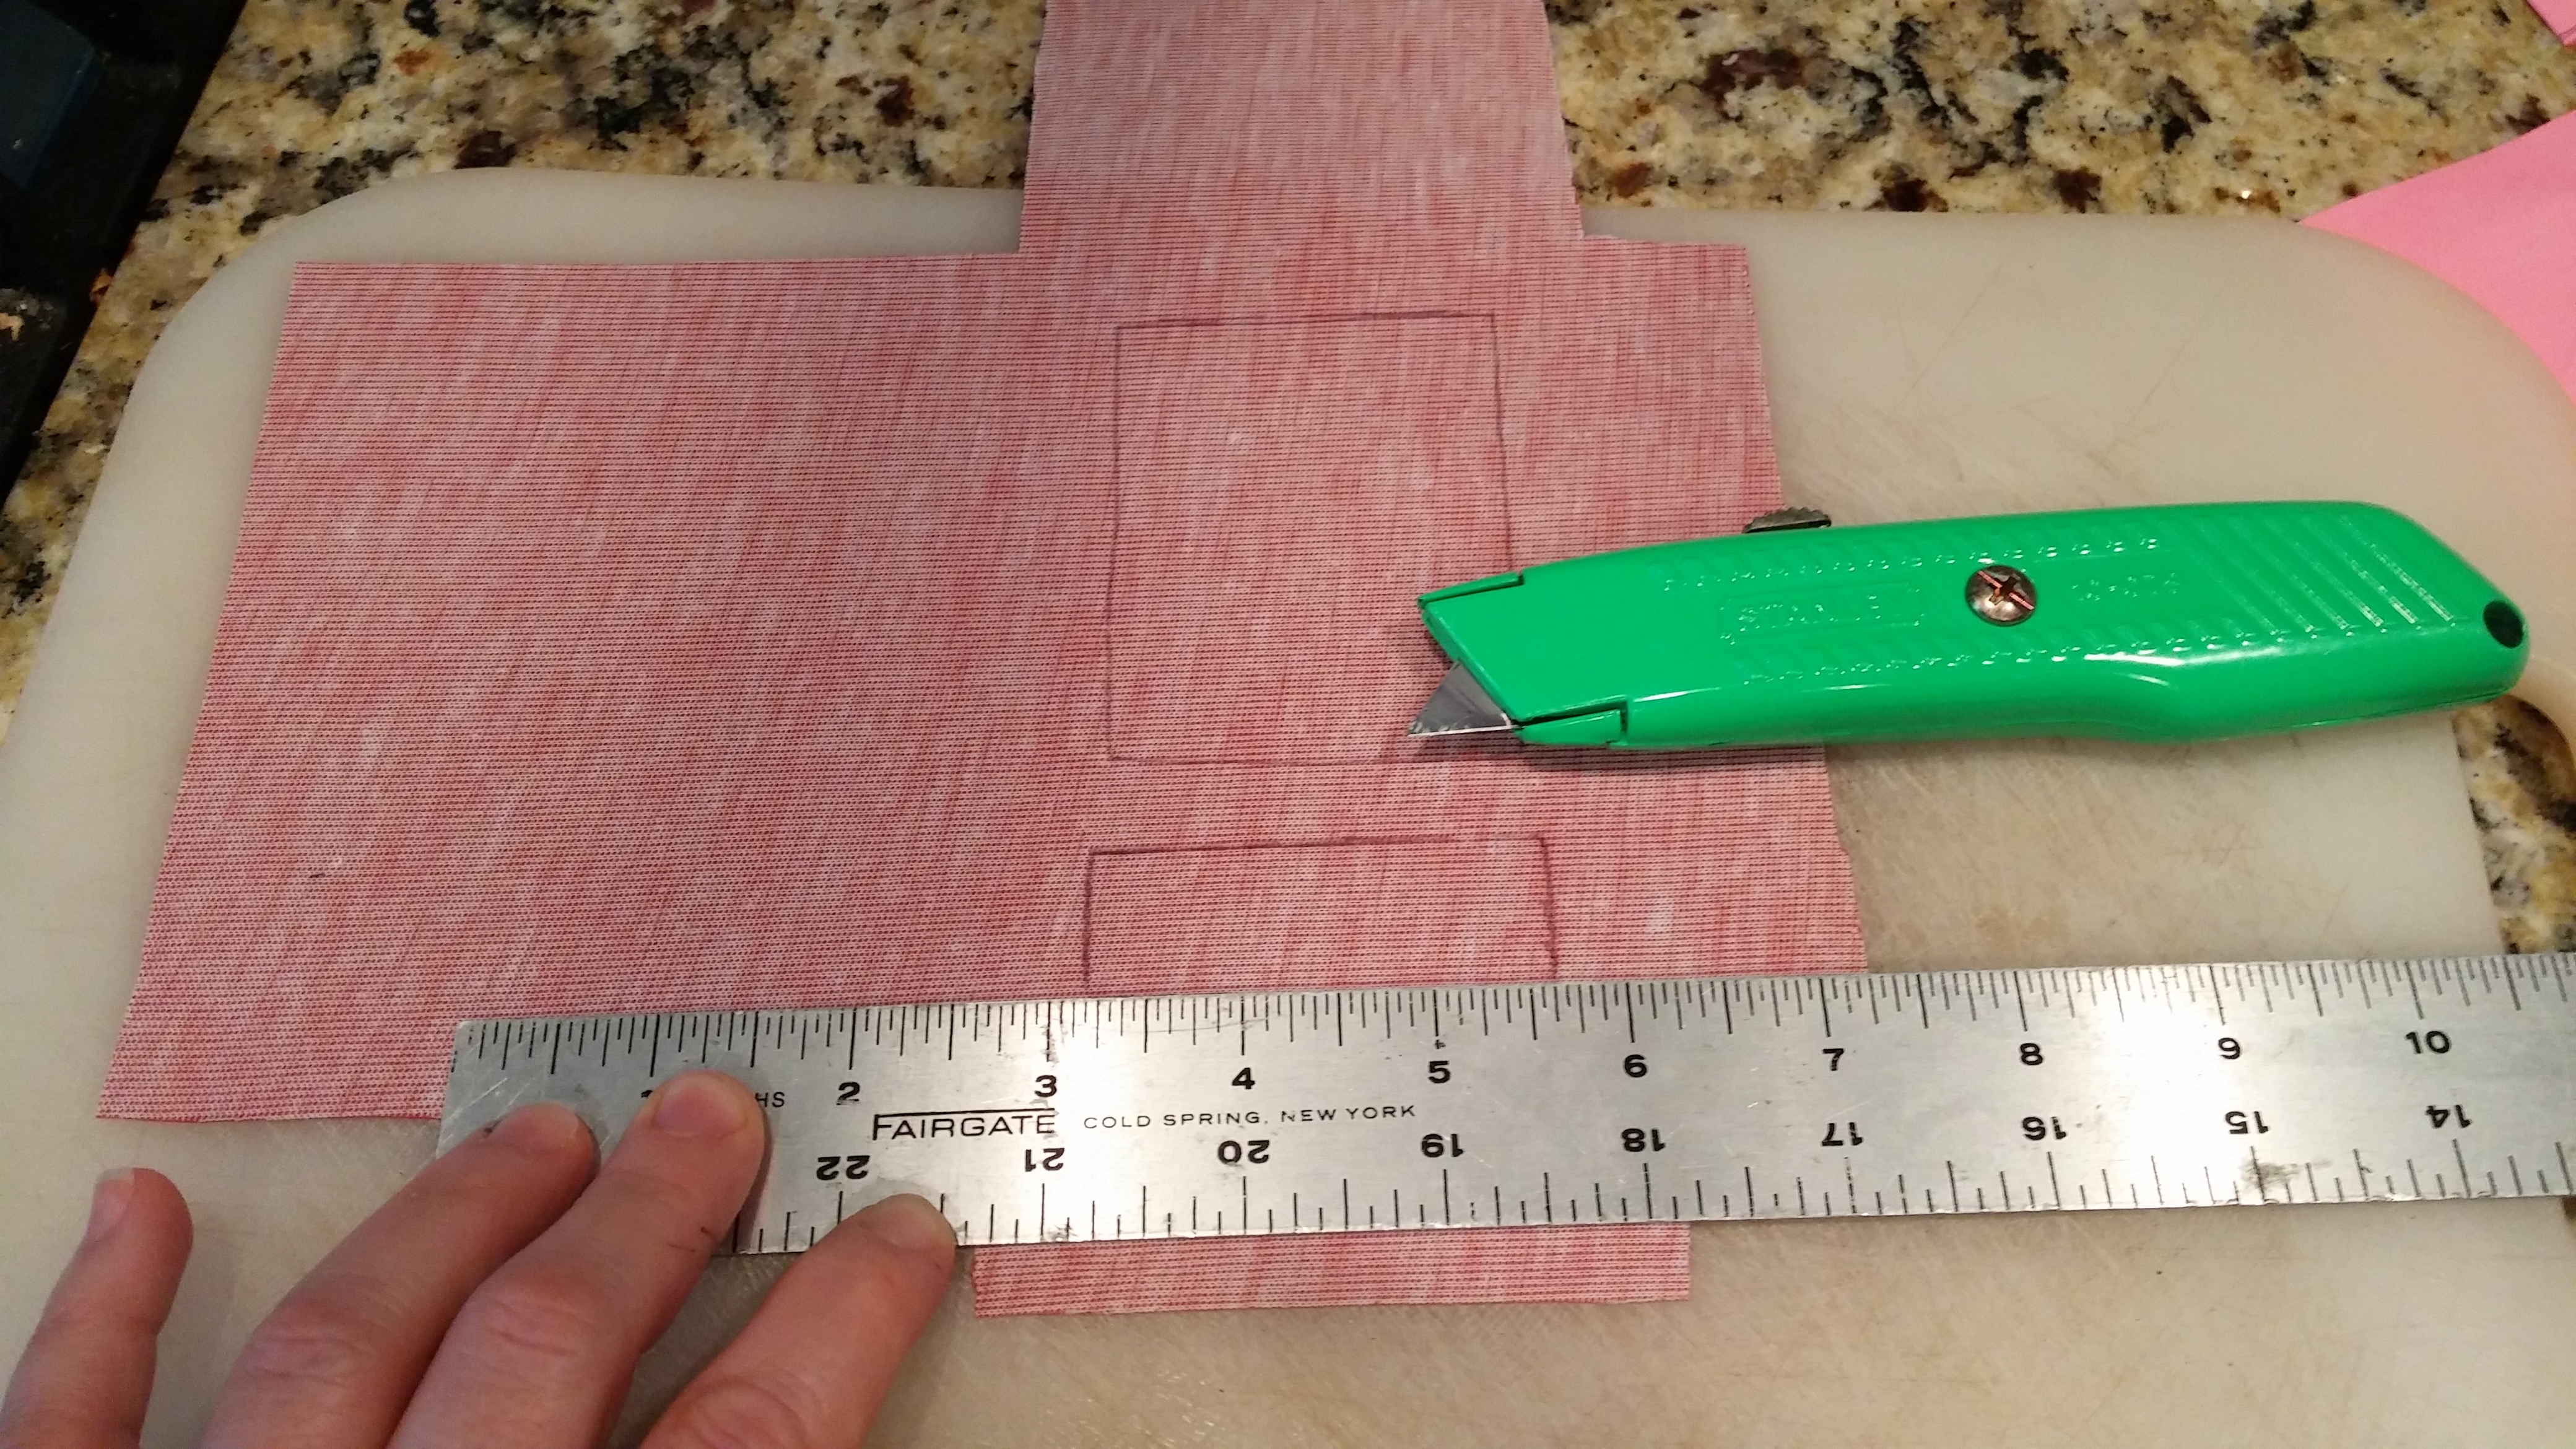
We first measured her iPod to ensure it would have plenty of room inside the box. Once you figure out the dimensions for the front piece, cut 2 (for front & back pieces). From there, cut 2 side panels just slightly shorter then the front piece. We made our width about 3/4″. Cut the bottom piece to measure the length of the bottom of the front piece and use the same width as the side panels (in our case, 3/4″)
Cut a window out of the front piece only, leaving room for the transistor numbers.
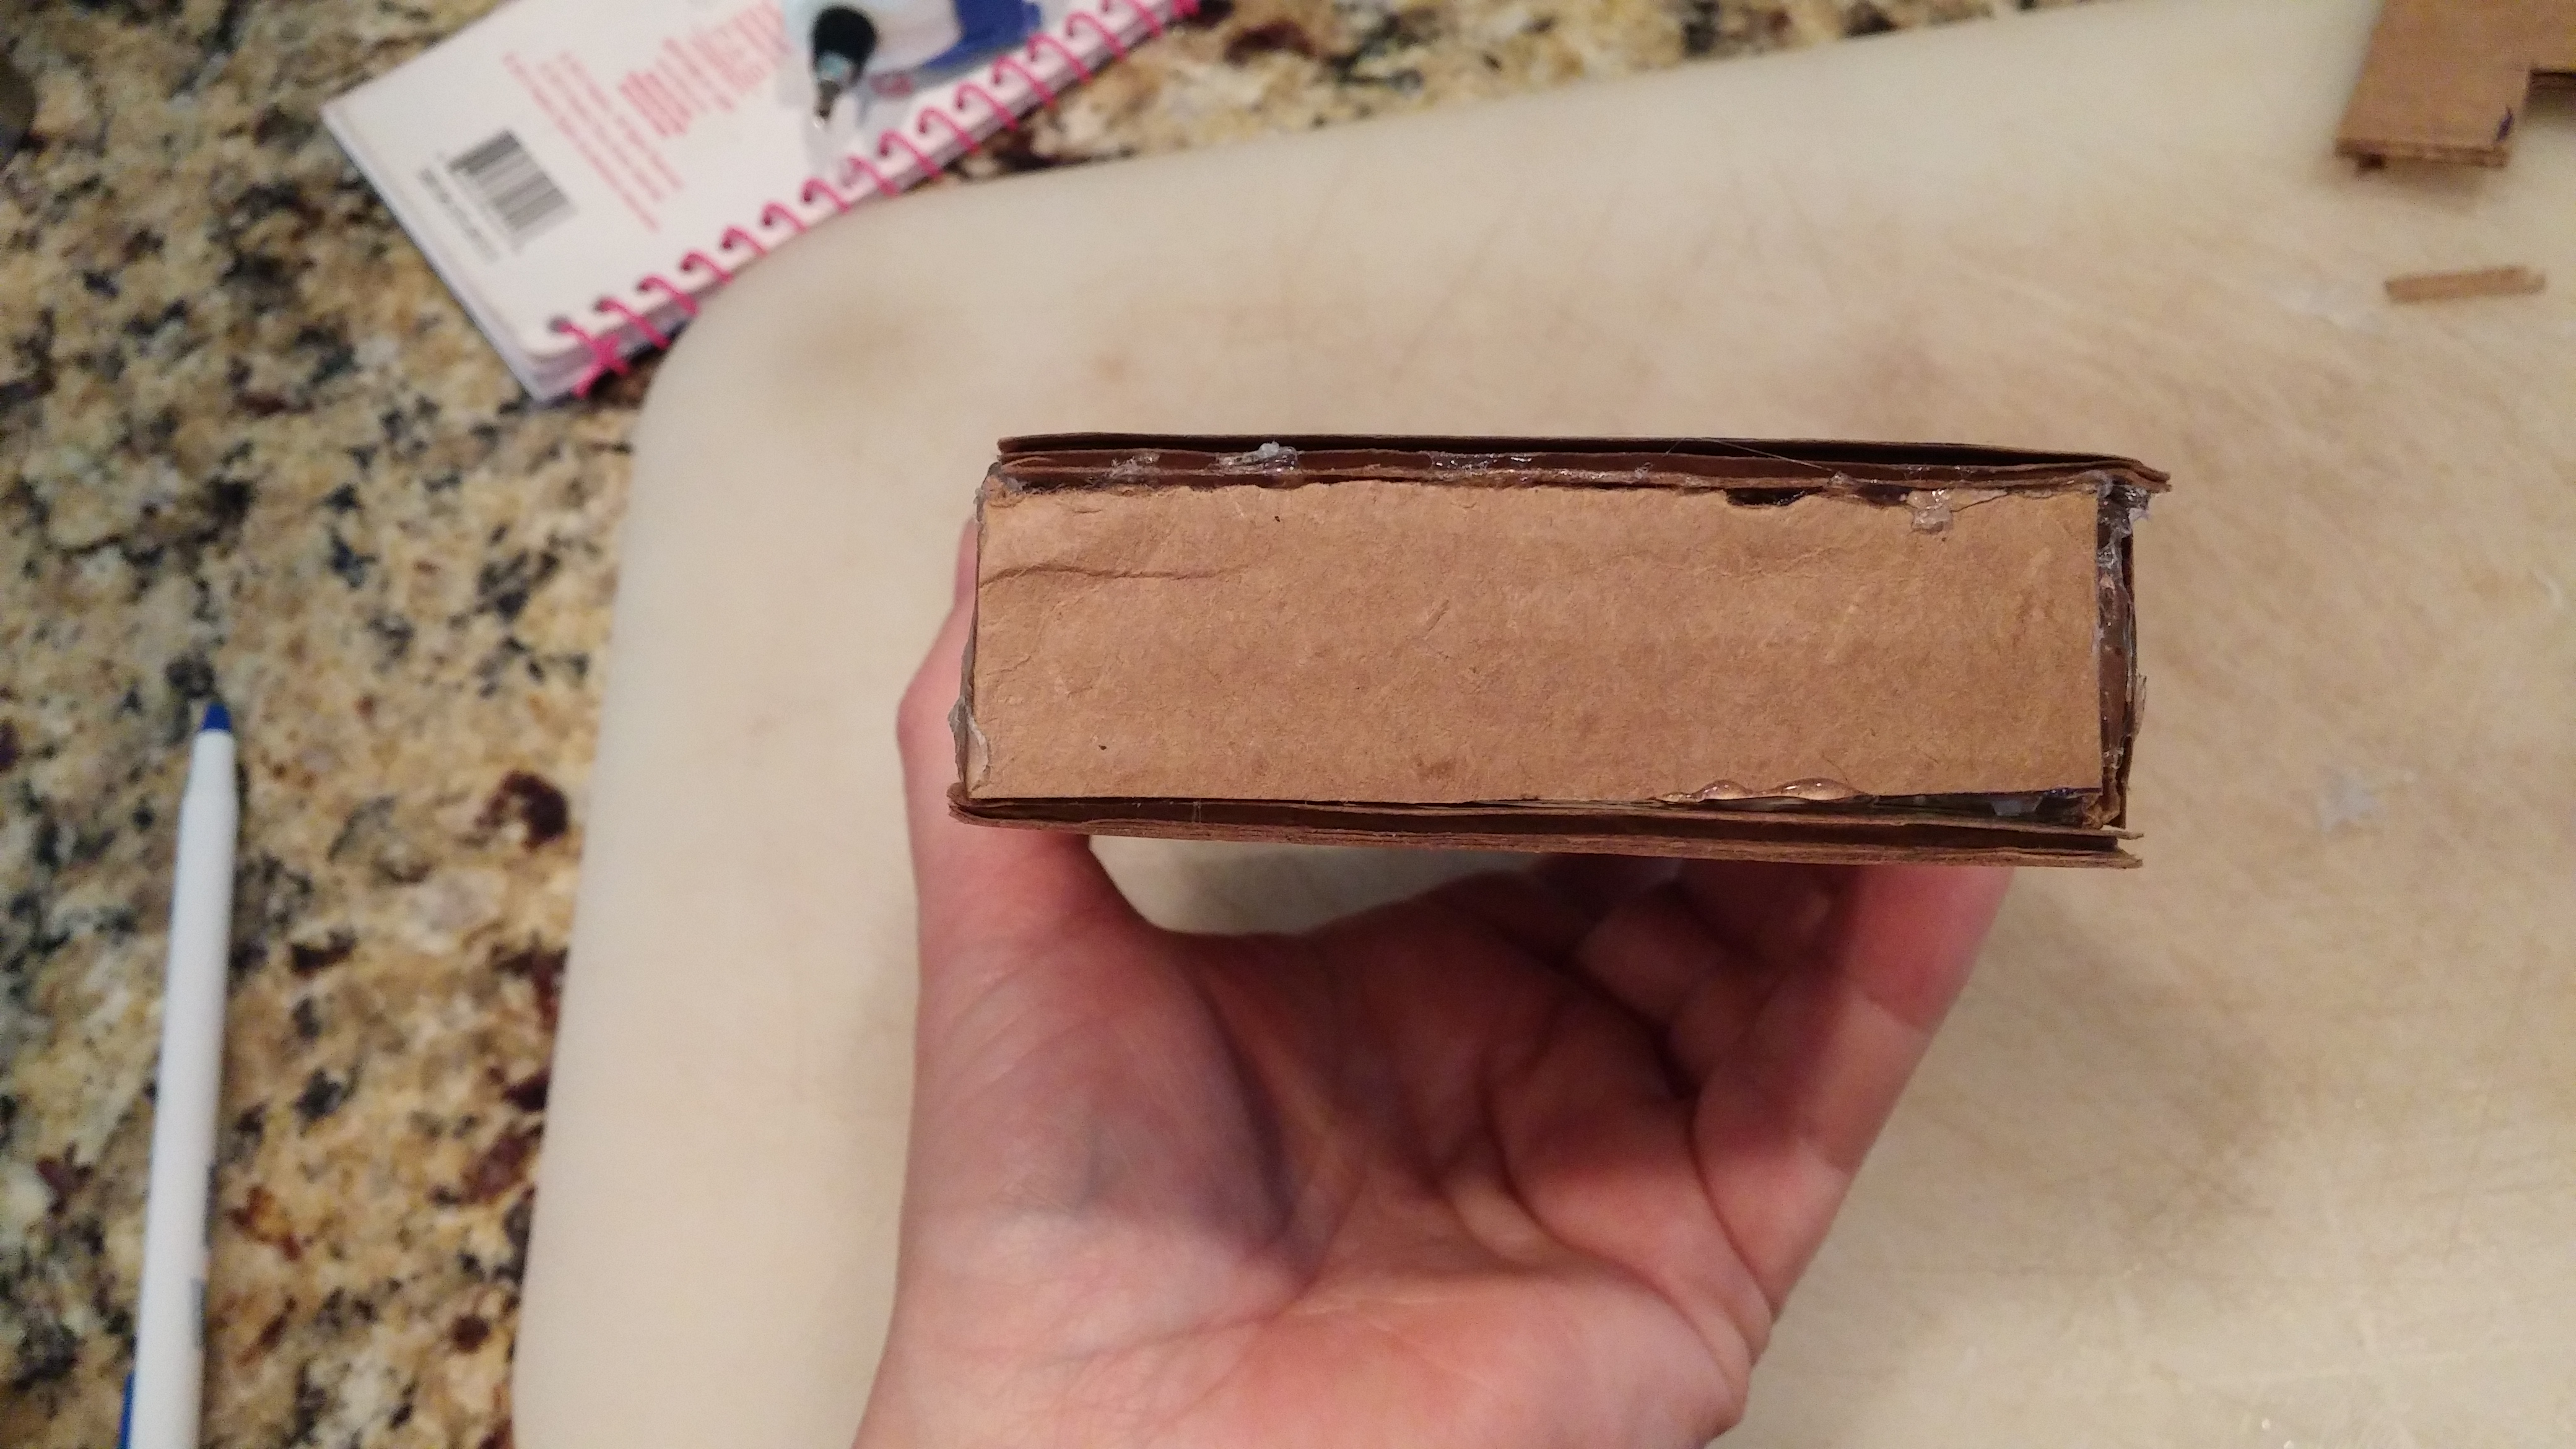
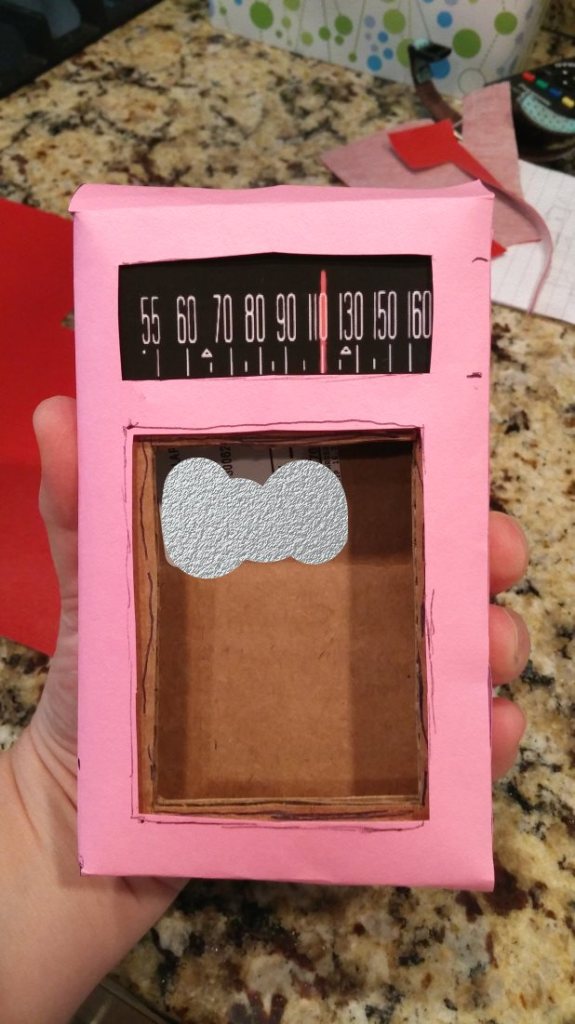
Step two: Use a glue gun to assemble the cardboard


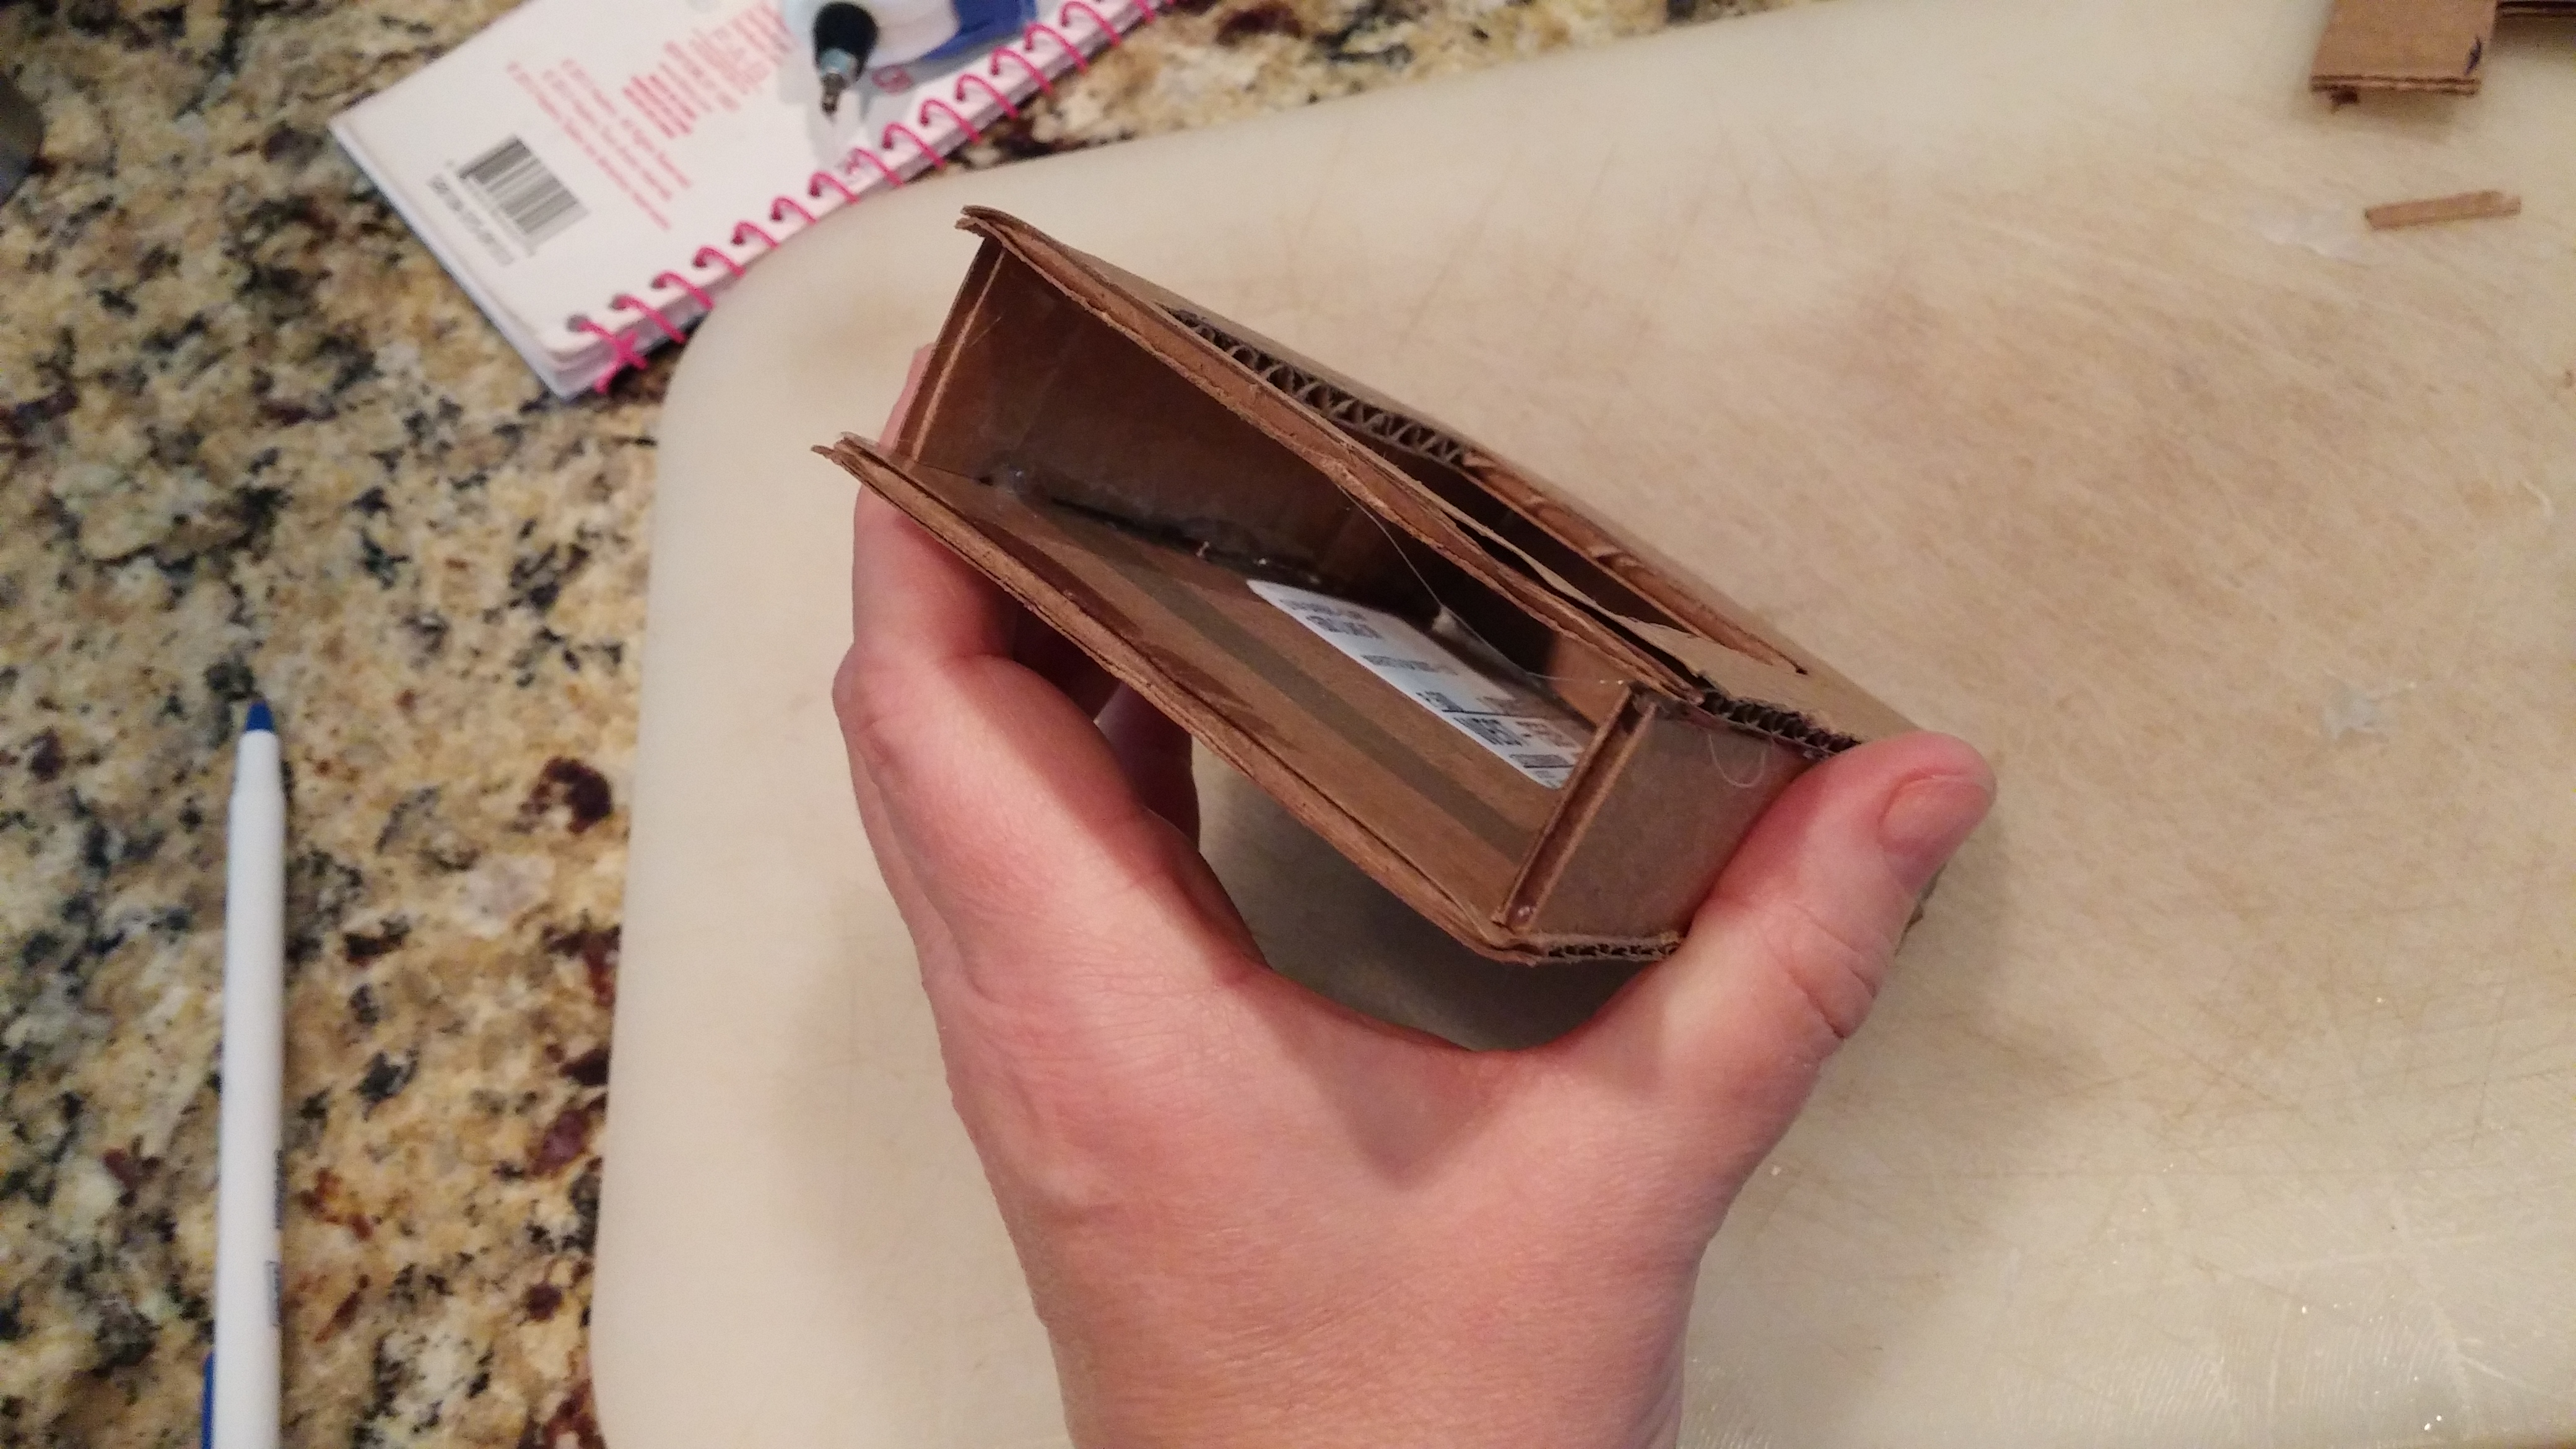
Once assembled, cut a slit for your strap in the top on the top of the left side adjacent to the window area.

Step Three: Add the number strip
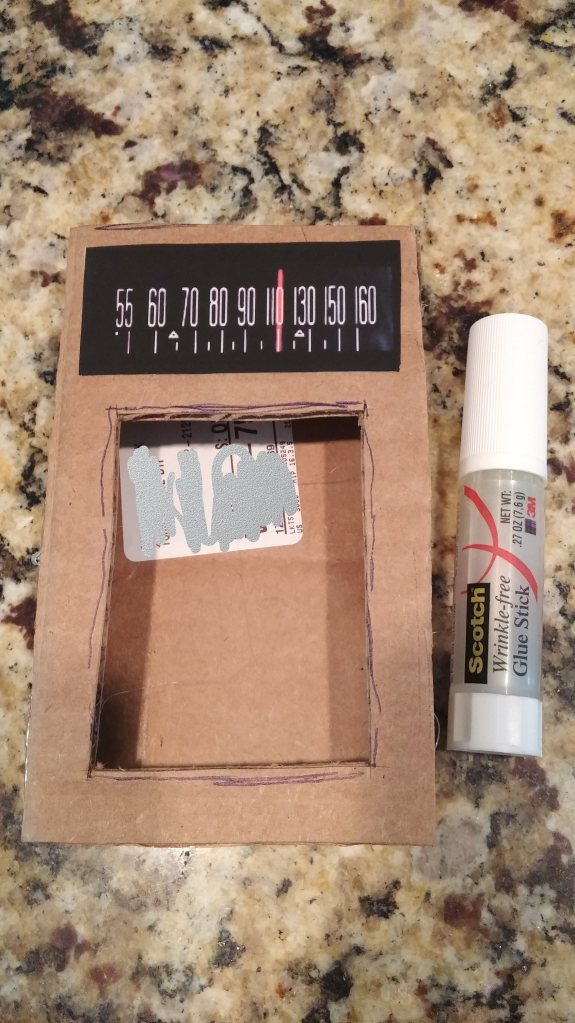
I did a google image search for transistor radios and cropped it down. Feel free to use mine:

I printed this out on brochure paper because it works better with a glue stick than all-purpose paper. Using a glue stick, glue the number strip in the center of the space you left above the cut-in window. Note that there will be vinyl covering all sides of the number strip.
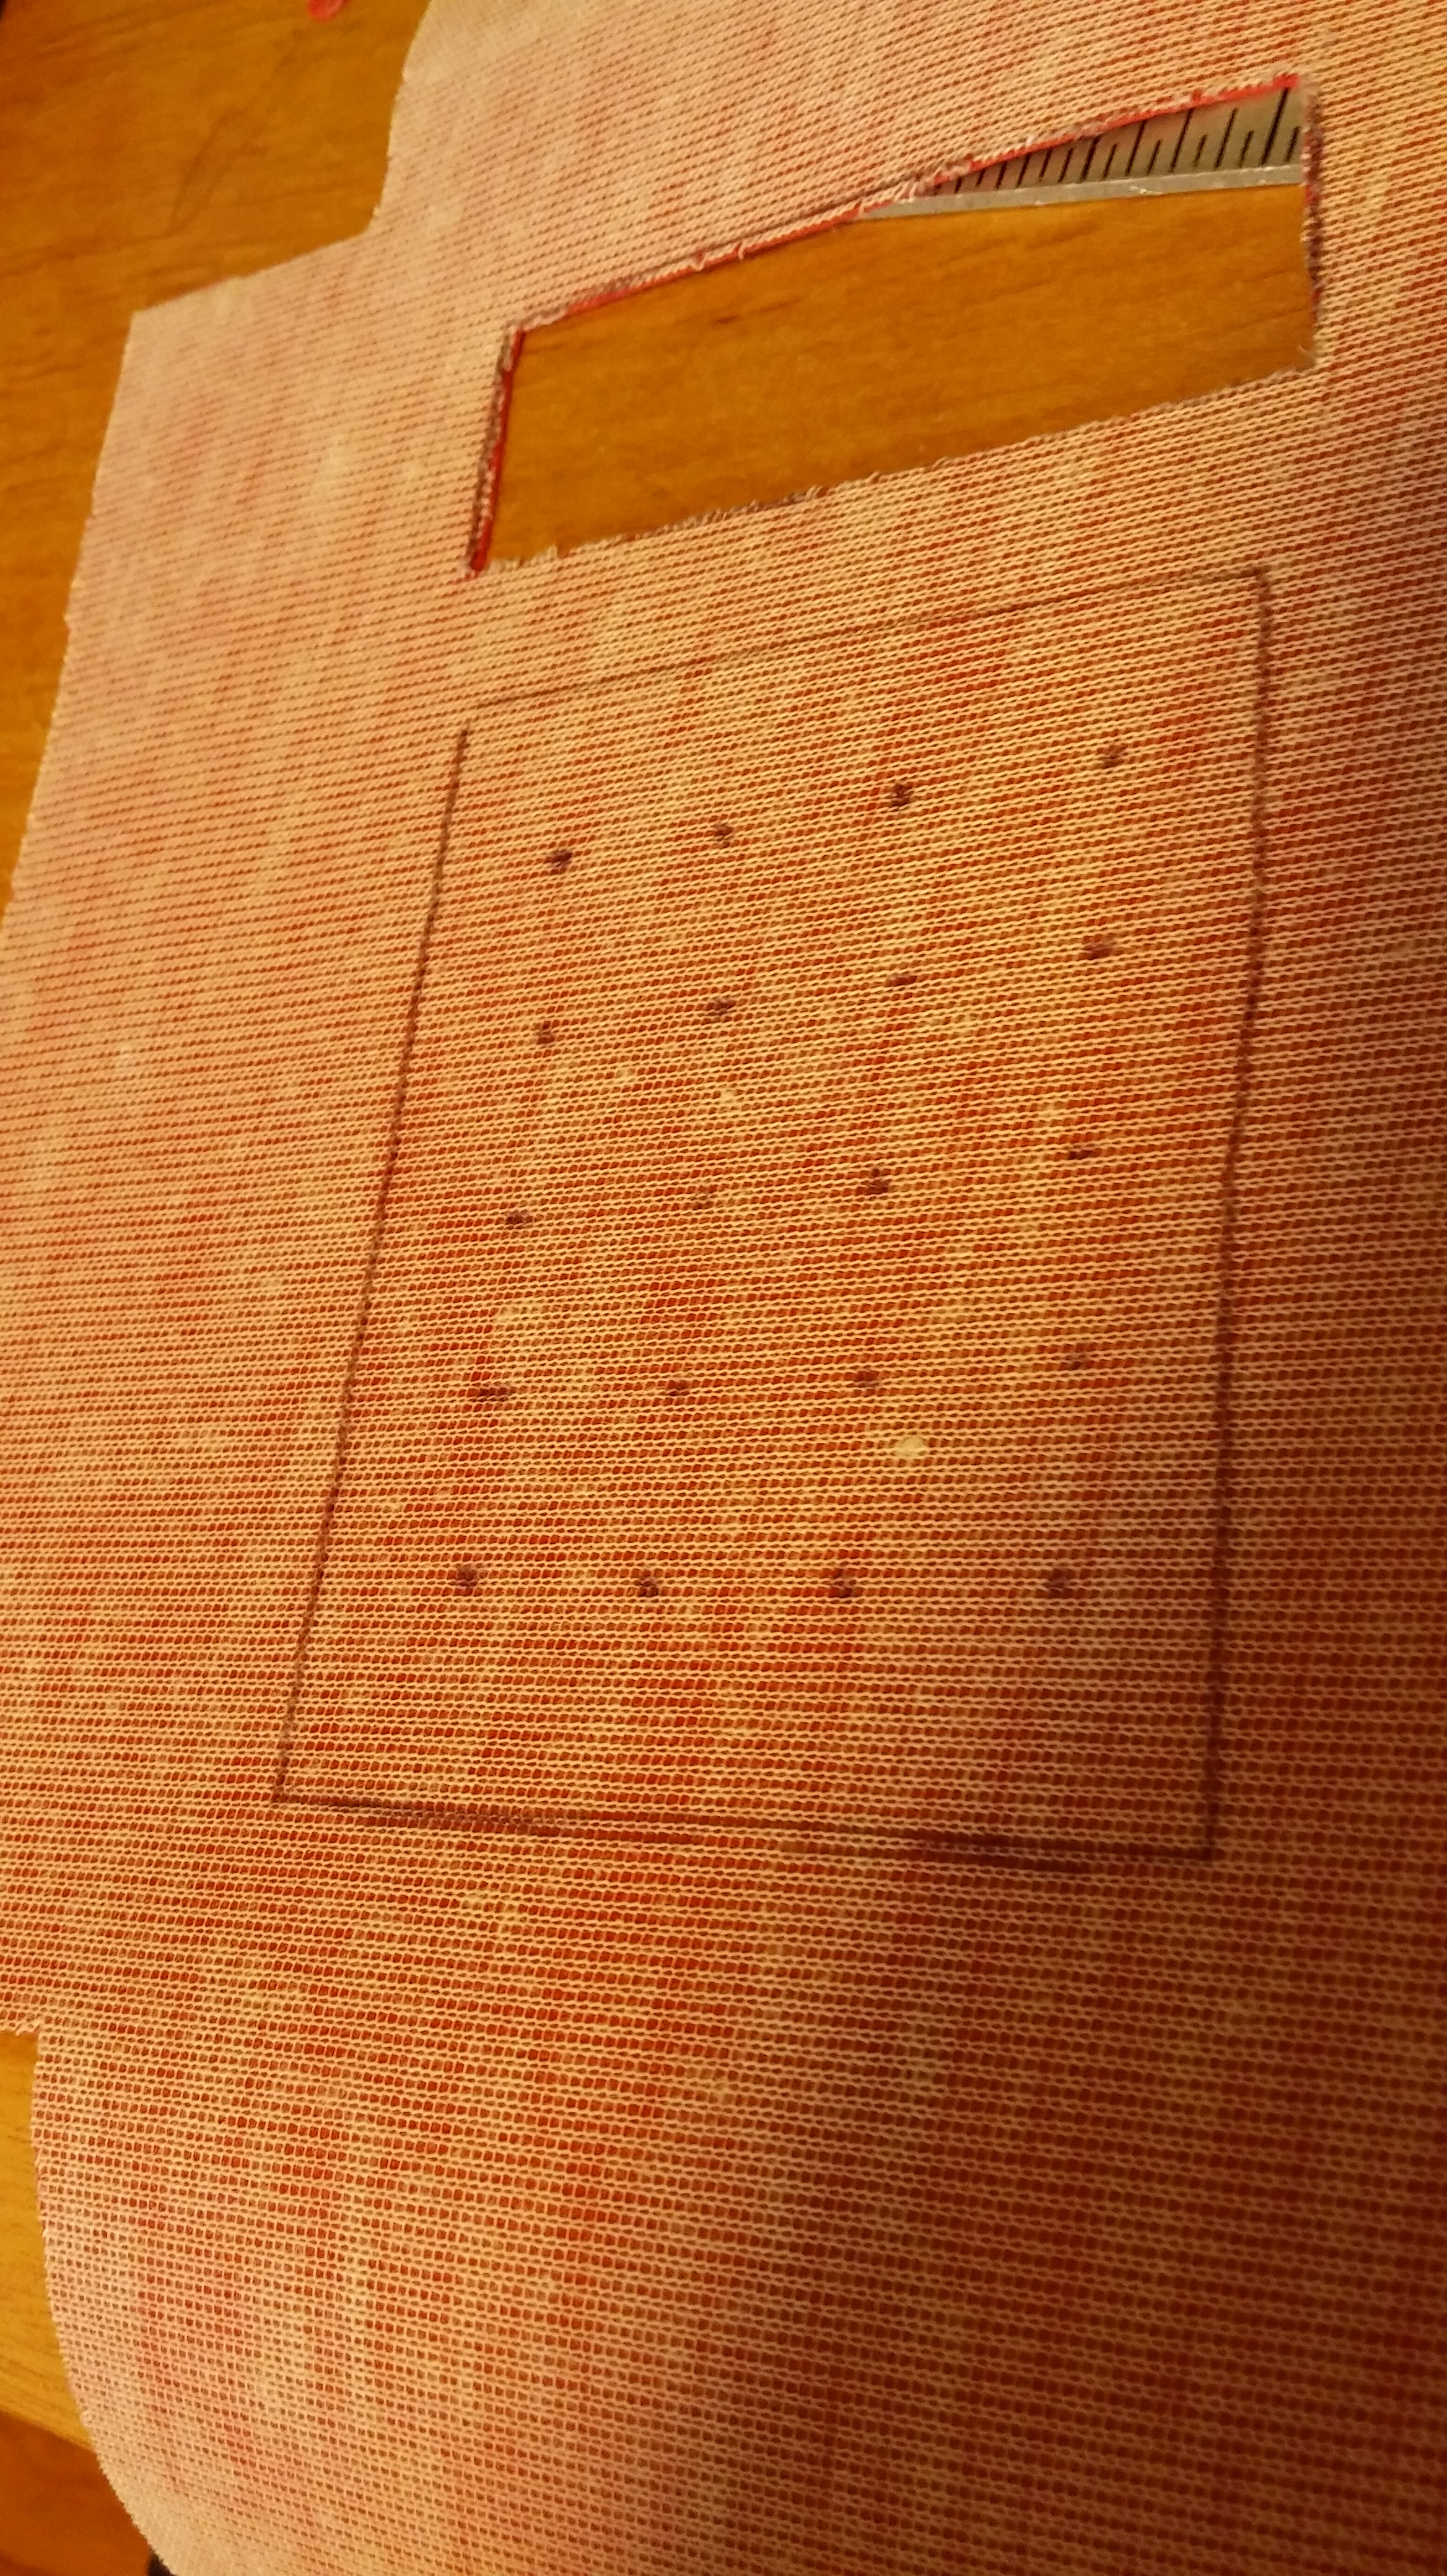
Step four: Make template and cover with vinyl

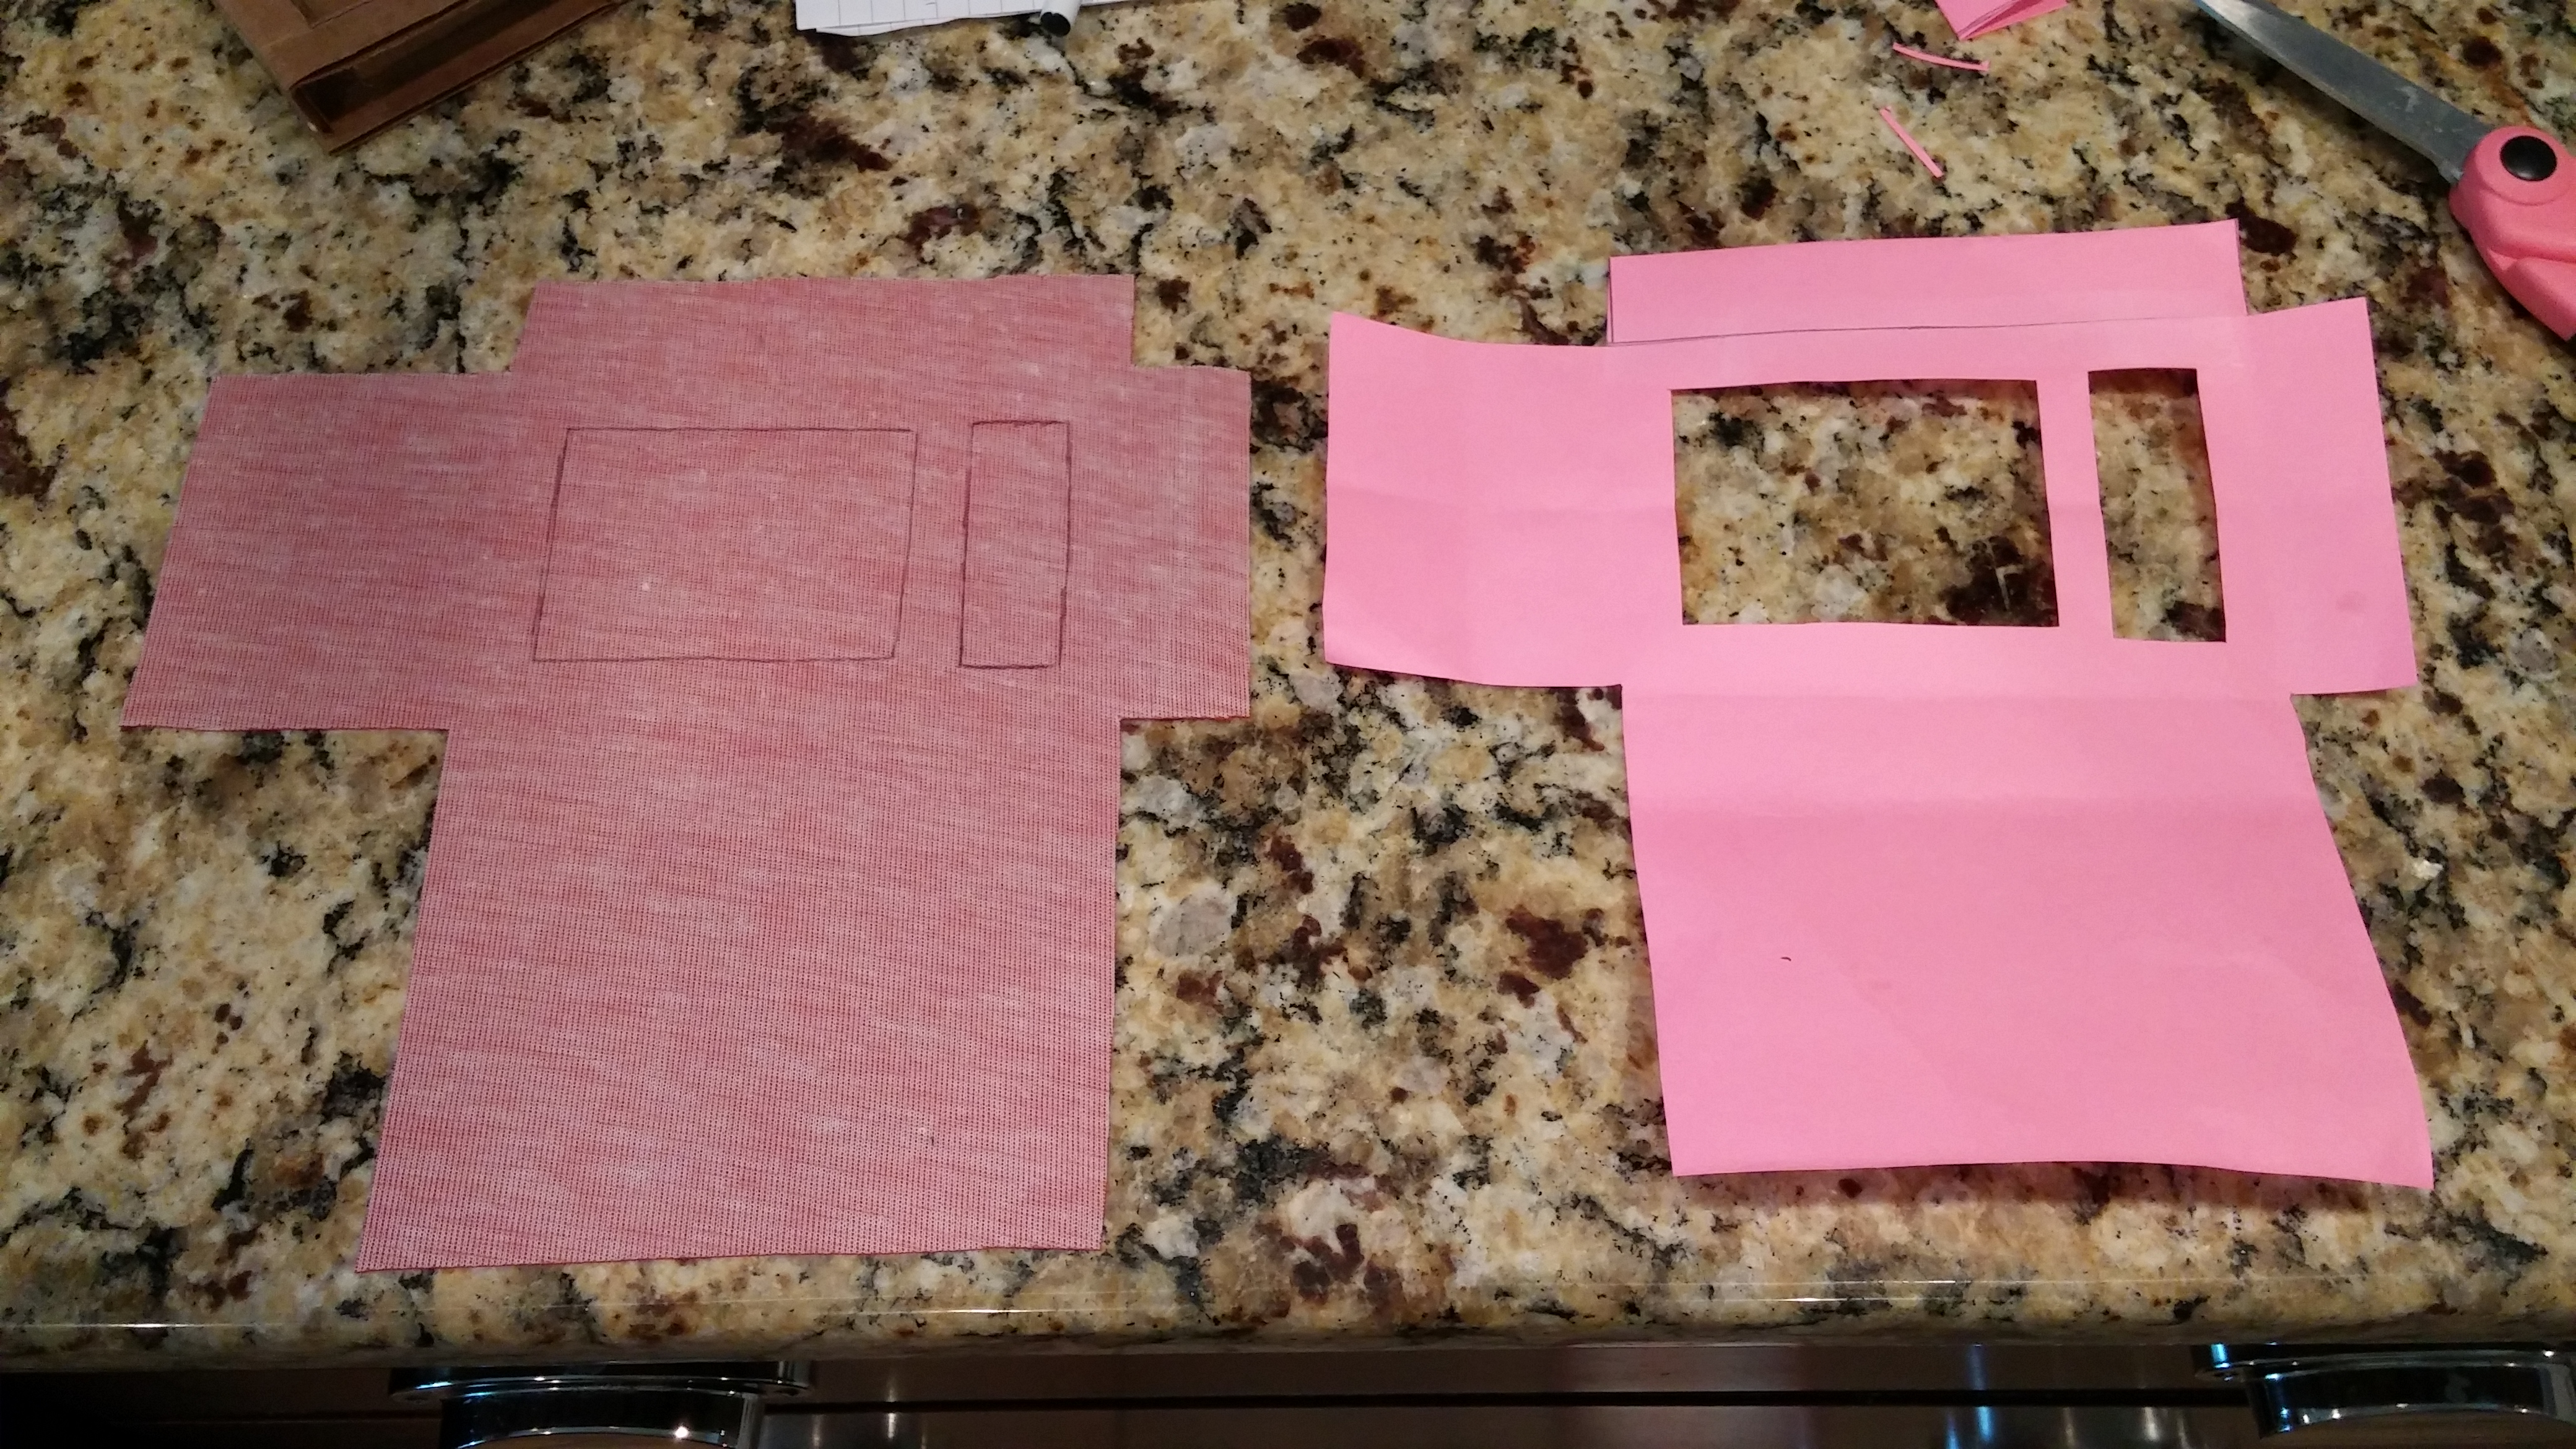
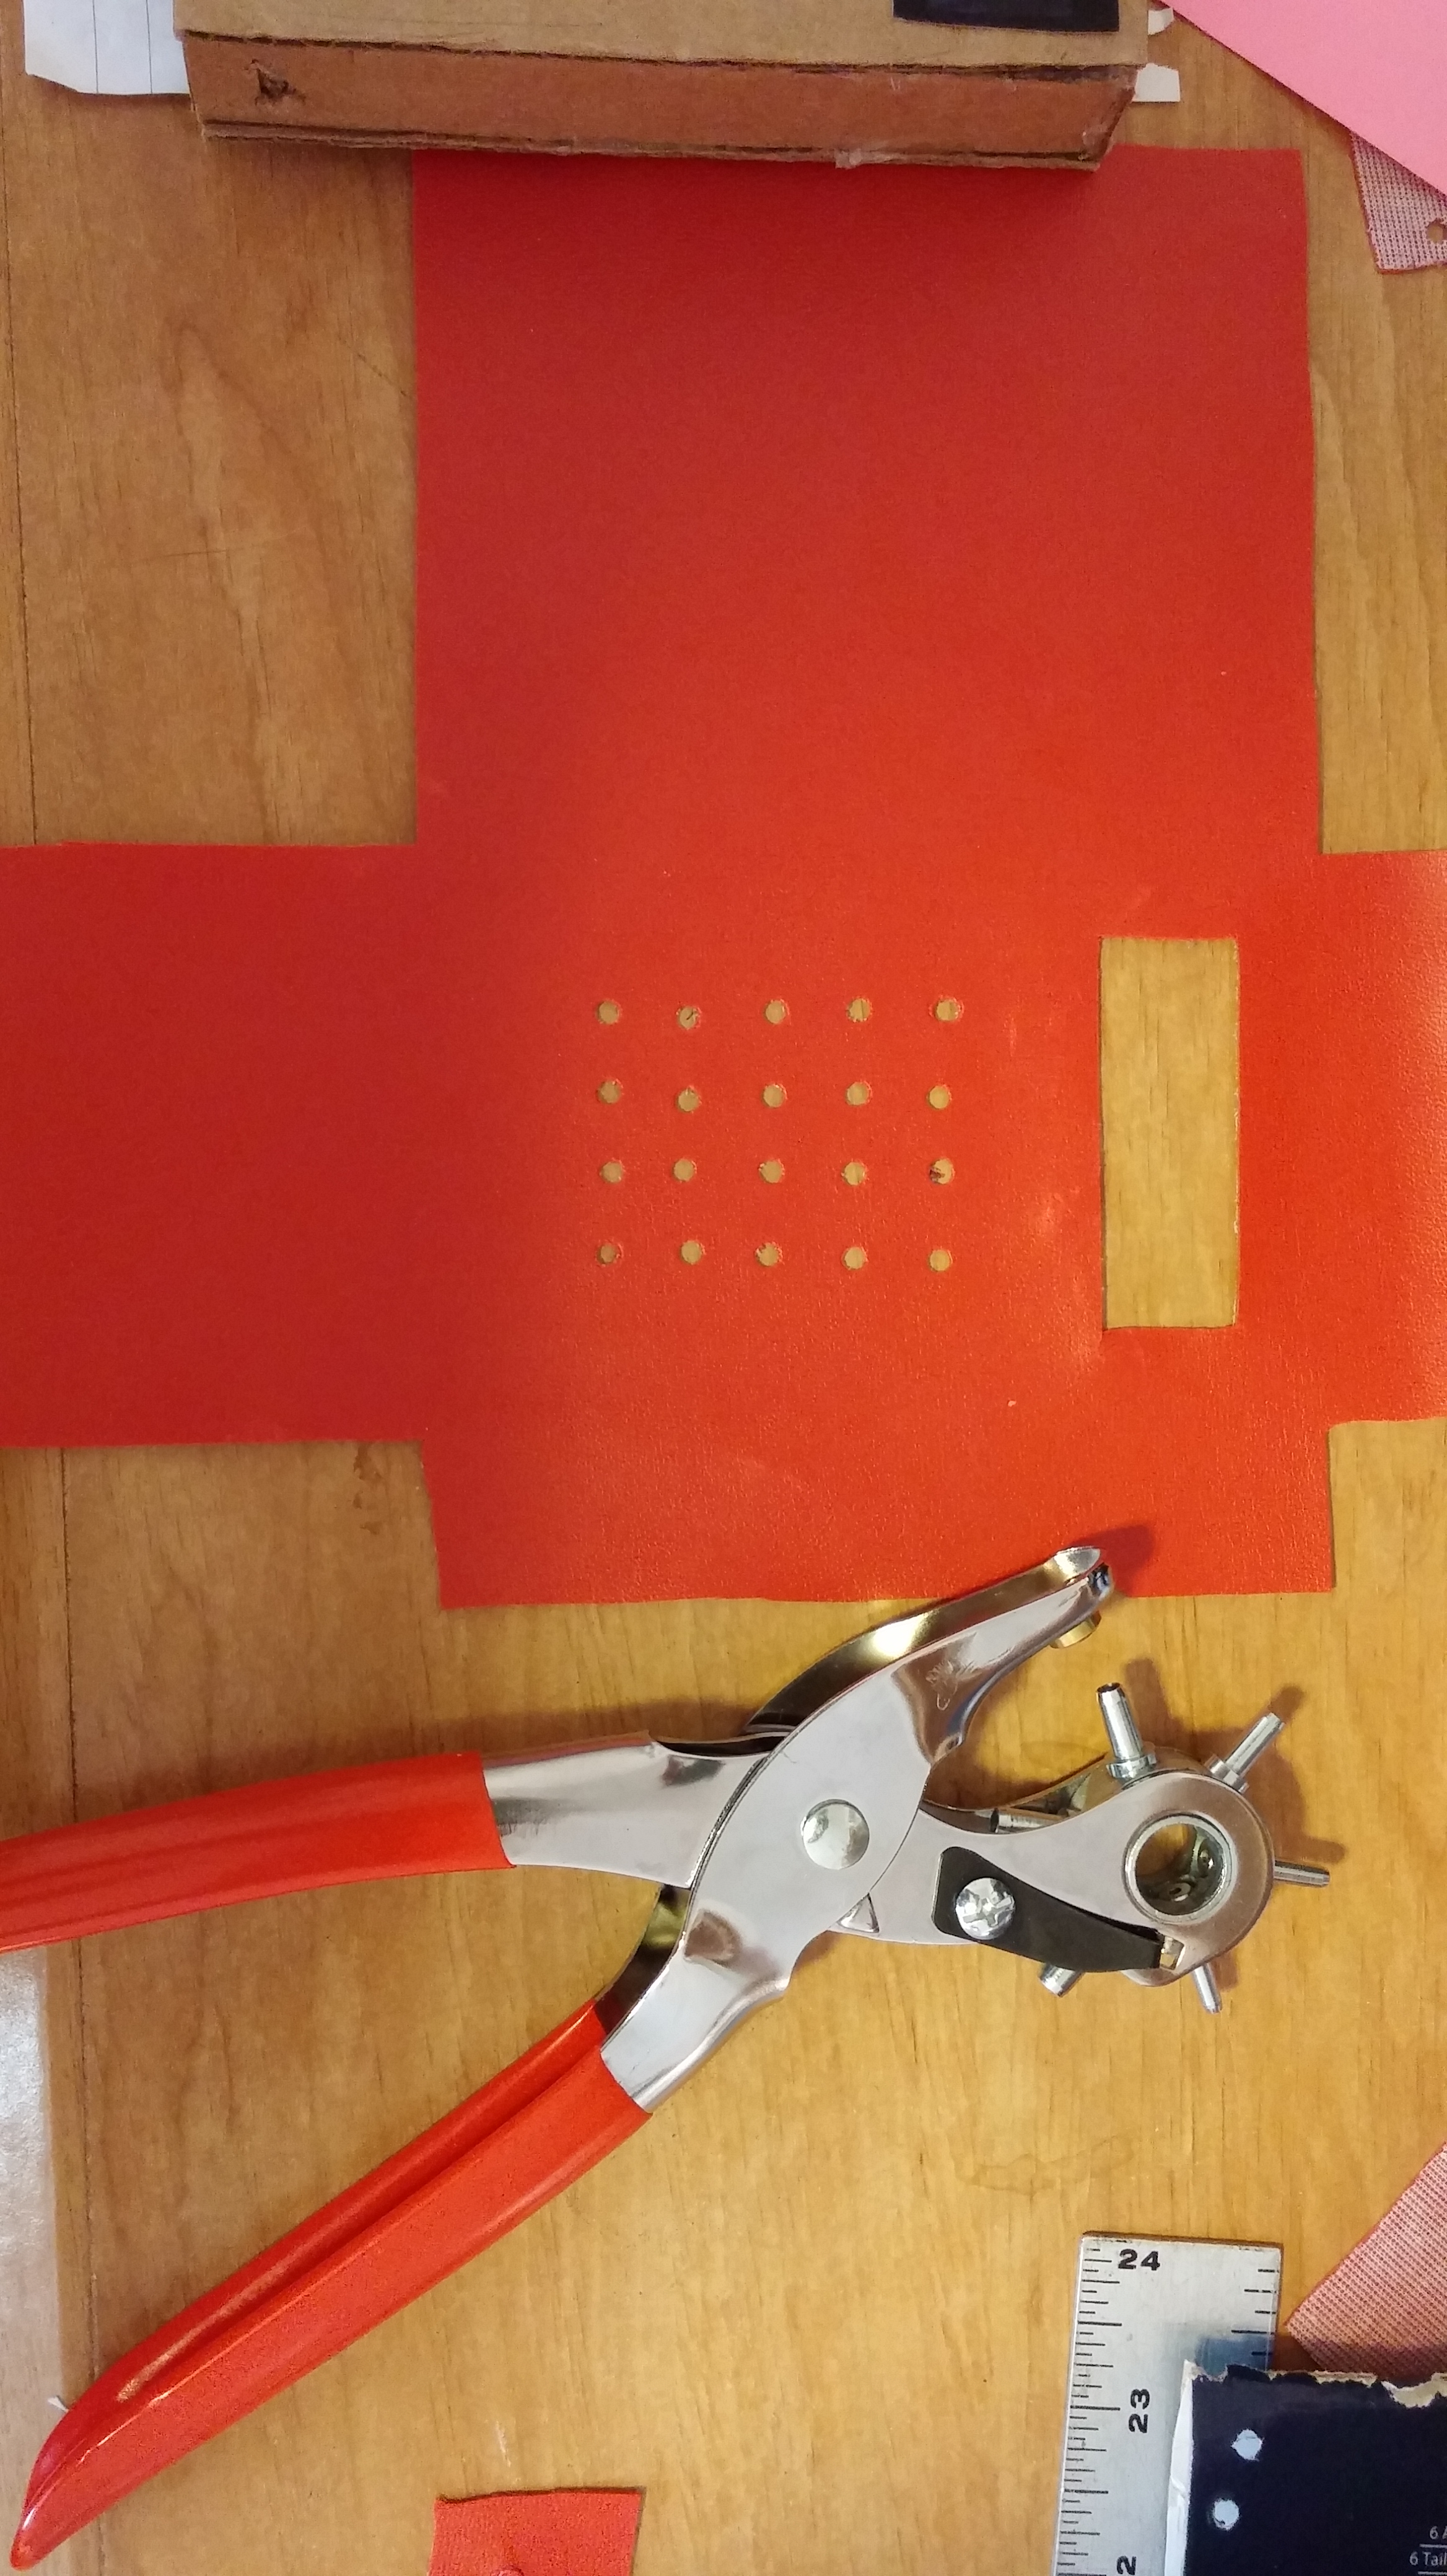
Step Five: Add holes to vinyl
If you’ve never used a rotary cutter before (we had not) practice on scrap vinyl first. You need a pretty thick amount to properly cut the holes. The vinyl is too thin on its own to puncture properly, so we put several layers of cardboard underneath it to get nice, clean holes.
Step Six: Attach the vinyl to your box & finish!
Almost done! Add a few glue dots from your glue gun around the cardboard & adhere the vinyl.

Stick a small strip of velcro to the flap area. Attach strap.
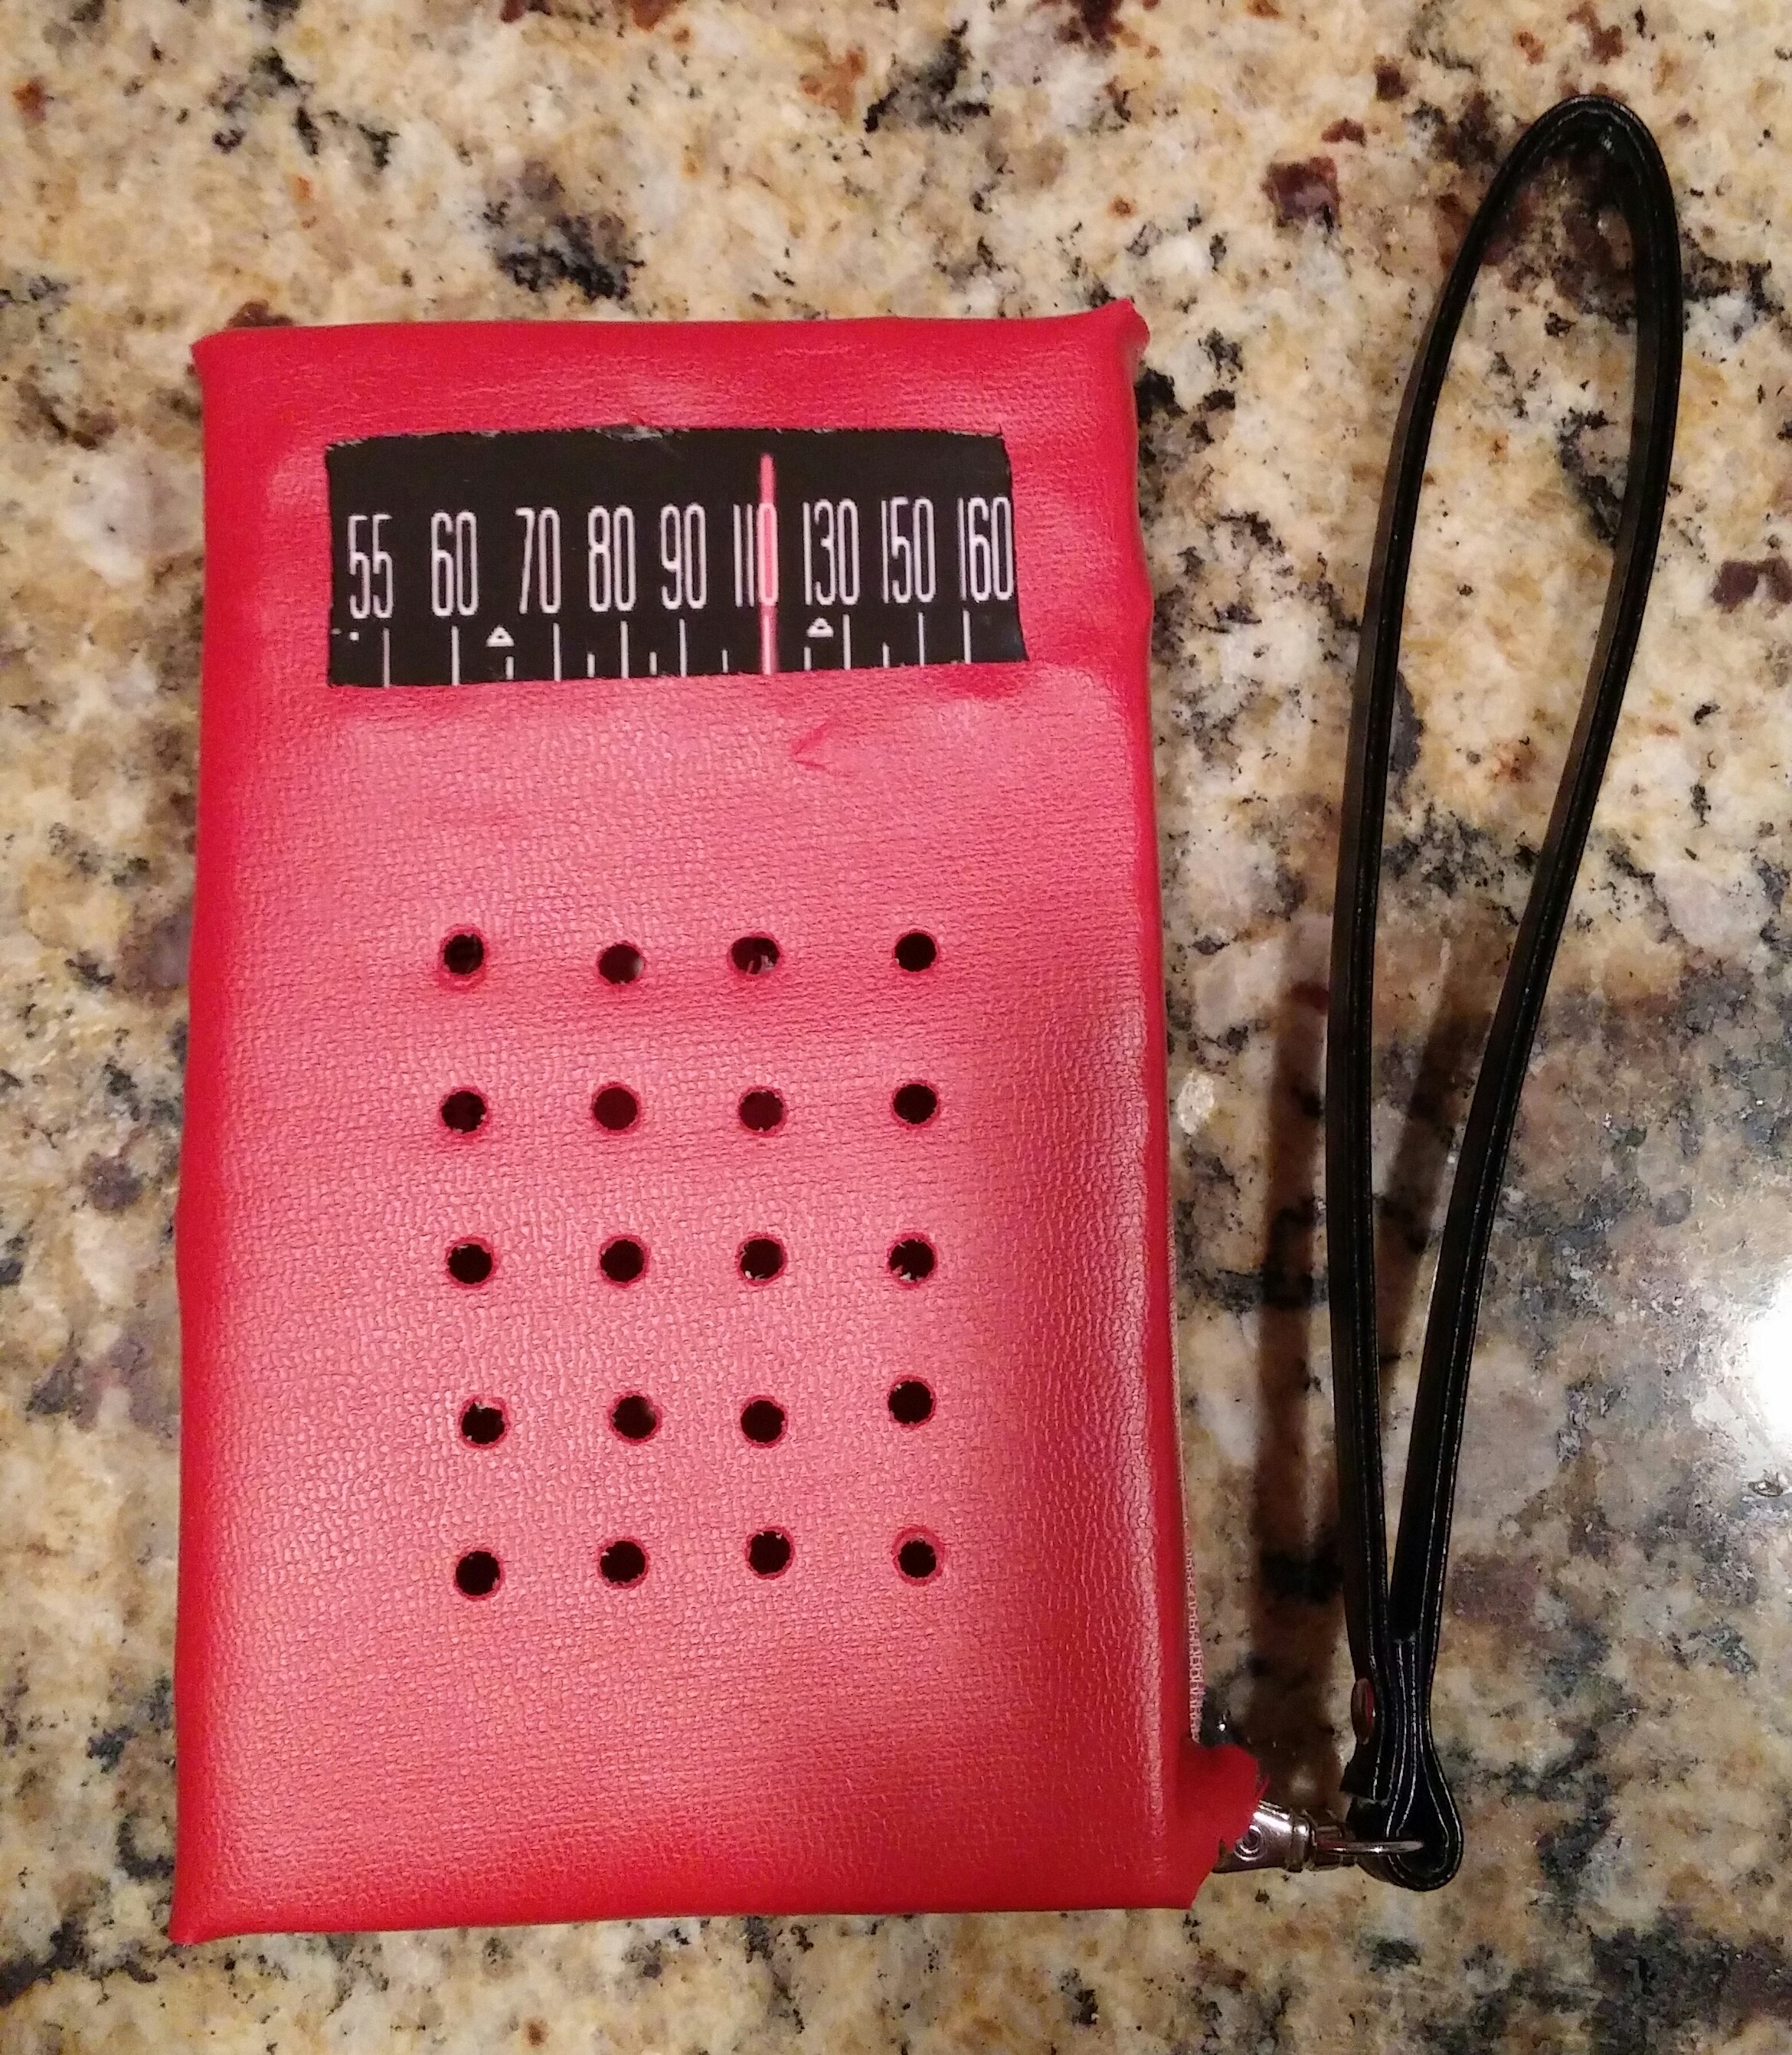
Now go deliver those packages while blasting your tunes!!!!!


Hey, I’m sure it was an accident, I just wanted to let you know your full home address is visible in the cardboard photo. Might want to blur that out! I want my fellow geek ladies to stay safe! ❤
LikeLike
Thank you so much! I got way too caught up in a creative whirl to notice!
LikeLike