If you keep up with my articles, then you know my house is where plants go to die. I have been looking at the beautiful mums my dad bought for me slowly die for weeks now. As it turns out, plants like to be watered. Who knew?

I saw a lovely photo on Pinterest with no tutorial for lighted holiday planters, and my mission was clear. I’m very happy with the result so I am sharing with you!
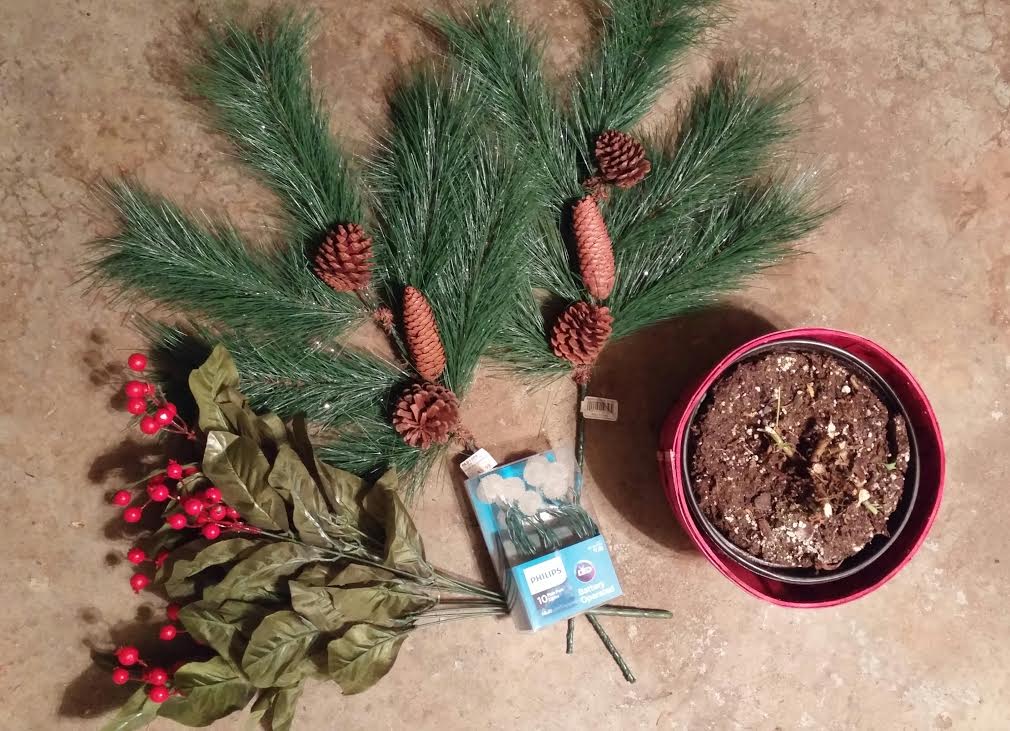
Materials:
Dead plant (check!) or planter
Floral foam (optional)
Pine sprays (I used 2-$4 each at Old Time Pottery with 40% off)
Holly sprays (I used 1-$2 at Old Time Pottery with 40% off)
Battery-operated lights ($8 at Target with 25% off)
Wire cutters or amazing strength
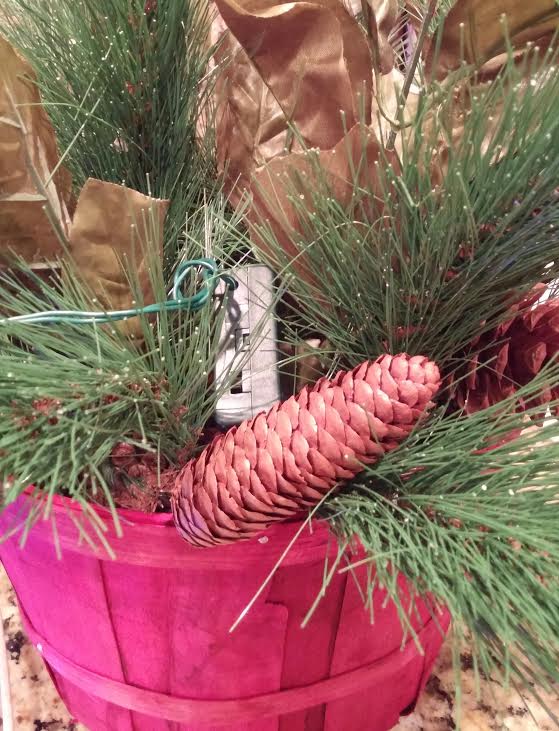
Step 1: Prepare planter
I cut off the mums from the stems and left the dirt to have something to stick the sprays into. Floral foam would be easier to use, but Old Time Pottery was sold out and this was cheaper.
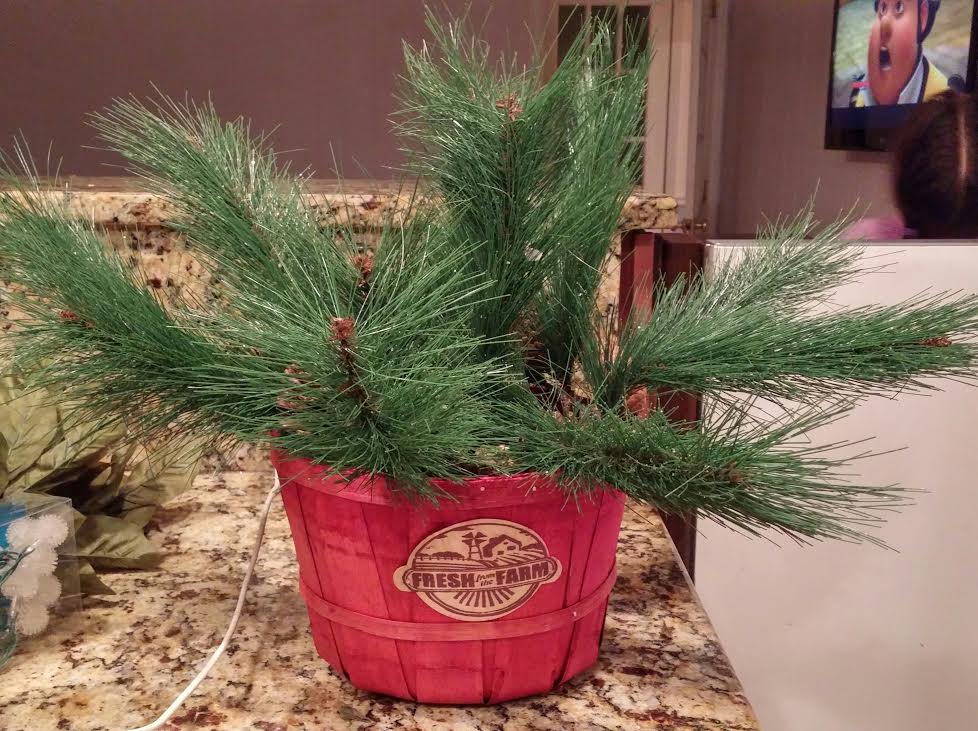
Step 2: Add pine sprays and arrange in an aesthetically pleasing manner
I left the sprays in tact & bent the wires into circles then embedded into the planter. Start fluffing the branches upwards & out.

Step 3: Add the holly sprays and arrange in an aesthetically pleasing manner
I cut the individual holly sprigs off and added into the arrangement where there were gaps. Fluff the leaves outwards.

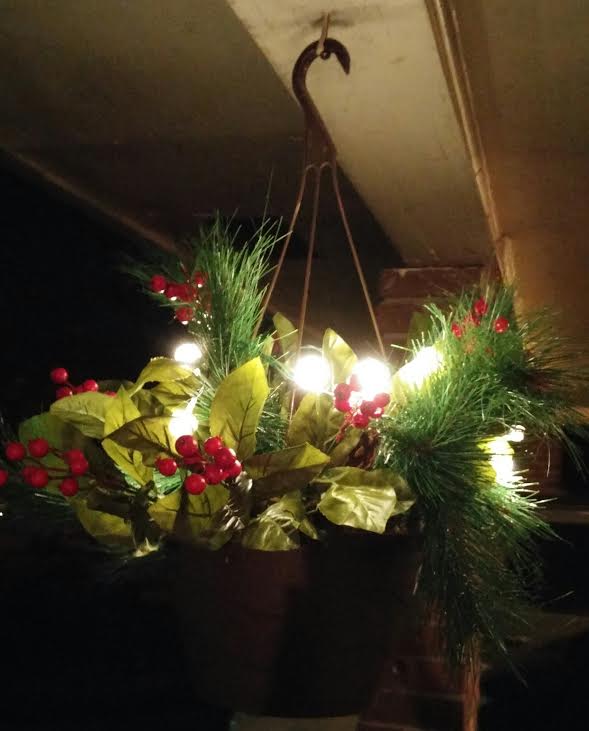
Step 4: add the lights and arrange in an aesthetically pleasing manner
Wave to my photo-bombing Dad!!! I filled the lights into obvious gaps. It’s easier to do with the lights turned on. There are many light choices based on your preference and budget. There are several options of remote-controlled battery-powered lights on Amazon which will make turning them on & off at night much easier.
TIP: start by placing the battery box in an inconspicuous spot which will be easy to reach with the switch facing up.